Showing posts with label recipes. Show all posts

Sunday, August 30, 2015

Prosperosa Eggplant Becomes Pasta alla Norma

Trying to find a new way to cook that eggplant you grew? This recipe is a winner! Pasta alla Norma is a classic dish featuring eggplant, Roma tomatoes and basil. It gets a kick from red pepper flakes and garlic.
The recipe is below, but first let me introduce Prosperosa eggplant, perhaps the prettiest eggplant I've grown.
The contrasting white collars make this eggplant a standout. A closer look reveals the details are an ombre effect that is a delightful combination of shades of purple and pale green. In the bright sunlight, the colors come alive.
As photogenic as they are, I couldn't help myself. I love purple and green together.
Beautiful, rich colors!
The plant is an upright grower with large leaves. Mine is currently approaching 4 feet tall, and it has produced several eggplants that are softball-sized and larger.
We have been enjoying eggplant parmesan but we wanted to make something new, and my husband found this recipe for Pasta alla Norma. It's from Jamie's Italy, by Jamie Oliver (Hachette Books). He adapted it a bit to use what we had on hand. He also left out the onion since I can't eat it. What can I say except this may be my new favorite pasta dish. The way the eggplant is prepared, it combines with the tomatoes to create a creamy sauce. Oh my, it is good!

2 large eggplants, tops removed
9 Tbsp extra-virgin olive oil, divided
salt
6 garlic cloves, peeled and thinly sliced lengthwise
1 small red onion, finely chopped
1/2 tsp red pepper flakes
1 28-oz can plum tomatoes in puree, pureed or hand crushed in the sauce
1 tsp sugar
1 lb spaghetti or other pasta
1 cup torn basil leaves
shavings of Parmesan or Pecorino (we used grated instead of shaved cheese)

Preheat oven to 475 degrees with racks on the upper and lower thirds. Cut each eggplant lengthwise into eighths. Cut out the fluffy cores from the wedges, leaving 1/2 inch thick shells. Cut the shells crosswise into 3/4 inch thick strips. Toss them with 6 Tbsp of olive oil and 1 tsp salt in a bowl. Place them onto 2 oiled rimmed baking sheets and roast in the oven. Stir the eggplant and switch the location of the backing sheets half way through. Cook until tender and browned, total of 20-25 minutes. 

While the eggplant is roasting, heat the remaining oil in a heavy skillet over medium heat, saute the garlic, stirring, until golden, then transfer the garlic with a slotted spoon to a small bowl. 

Stir onion, red pepper flakes and 1/2 tsp salt into the skillet. Cook, covered, over medium heat, stirring occasionally, until the onion is tender, about 6 min. 

Add the tomato puree and sugar, briskly simmer, uncovered, until thickened slightly, 10-15 min.

Cook pasta per the package instructions. Reserving 1 cup of the pasta water, drain the pasta and return pasta to the pot. Add the sauce and the eggplant. Toss for about one minute to cover the pasta and eggplant with the sauce, thinning with the pasta cooking water as necessary. Stir in the garlic and half of the basil. 

Serve, and top with the remaining basil and the cheese.

If you happen to have left-overs, it is amazing as a cold pasta salad the next day!


Thursday, July 2, 2015

Tomatoes with Basil on Himalayan Sea Salt Block

Never have I ever had such flavorful tomatoes. Ever. Homegrown tomatoes are worth the effort, aren't they? If fresh tomatoes are your thing, you must try seasoning them on a salt block. Imagine turning up the flavor to the point it is almost too intense. That's what the salt block does. 

The build-up started in winter, painstakingly choosing tomato varieties out of seed catalogs, dreaming of tasting the first one of the season. Now, after all that time and concern, the fruit of our labor is ripe! 

This Cherokee Purple tomato is like a work of art, perfectly round and deeply colorful. It is my third tomato of the season. Oh, they are precious, those first few. It tasted even better than my imagination.

Luckily for us, our daughter bought her dad this Himalayan salt block for Father's Day. 

It was a perfect gift for him. He loves cooking and cooking gadgets, trying new recipes and experimenting. We had never heard of cooking on a block of salt. Apparently it's a thing. There are whole cookbooks about it. Ours is about 1 1/2 inches thick and it rests in a metal tray. When it was new it was pale pink, now it is stained from using it to cook meat on the barbecue. 

It is incredible how the salt block intensifies the flavor of the tomatoes. Just place the slices on the block for one minute per side (or less) and sprinkle some chopped basil on top (or not). The juice of the tomato causes the salt block to melt a bit, evenly infusing the tomato with salt. 

I tell you, the flavor will knock your socks off. 

Thank you, dear daughter, for the Father's Day gift.
Love, 
Mom


Friday, June 12, 2015

Annie's Rainbow Beans

They are beautiful, aren't they? Oh, but you should taste them sauteed with ham!! These are Annie's Rainbow beans, a combination of Contender, Golden Wax, Royal Burgundy, and Dragon's Tongue. I bought all of my seeds from Annie's Heirloom Seeds. (They don't know of this blog, I have no affiliation with them other than I purchase my seeds from them.) One of the things I like about their website is there are collections such as these beans and that makes it easier to experiment with different varieties. In the collections the individual varieties of seeds are packaged separately so they aren't all mixed together leaving you guessing. (At least that it true with the tomatoes, the beans may have come in one package. You can tell the beans apart, the varieties look different.) 

These beans are my current favorite thing in the garden, and they were a surprise. I thought I was planting a mix of pole beans and I put them at the base of one of my tee pees. It turns out they are bush beans and the mistake was mine. I didn't read the package well. So these are the pole beans that aren't. The flowers are sure pretty.


I can eat the beans uncooked right out in the garden, crisp and flavorful, but here's one of our favorite quick meals...

Add a little butter into a saute pan, add the beans and stir fry them for a few minutes, then add small pieces of ham and heat until the ham is slightly brown. Prepared this way, the beans are lightly cooked and still a bit crunchy, just the way I like them. YUM!

Sometimes the best things are unintentional. We are loving these bush beans so much that I am planting more every three weeks so we can have a continual supply throughout the summer! 


Thursday, January 29, 2015

Homemade Sriracha Sauce

Yes, sir! It will add some zip to your tacos. Sriracha sauce is our favorite hot sauce. Made of red chili peppers, it's heat can vary depending on what peppers you use. This fiery sauce is made of serrano and poblano chiles. 
Serrano chili peppers
Poblano chili peppers
It is the second batch my husband made since fall, and this one is much hotter than the first. He said he used more serrano and less poblano with this batch. Next time we may want to tone it down a bit. This stuff is HOT. 

I grew up in the Palm Springs area, eating Mexican food. It's my favorite, probably due to wonderful restuarants like the Jolly Jug which closed long ago. I still dream about their chili verde and their incredible homemade tortillas. I guess it makes sense that my favorite condiment is hot sauce. I was hoping for a good crop of chiles to make some homemade sauce. It seemed to take forever for them to mature, but our serrano and poblano peppers were worth the wait. Planted in the spring, they grew ever so slowly but finally produced a large crop. I had one plant of each variety and this is what was left after using them for cooking, and drying lots of them to be used later.
The poblano peppers are interesting in that they are actually called ancho-poblano peppers. When they are harvested while green they are referred to as ancho. Ancho chiles make wonderful chili rellenos. Once they have matured and turned red, they are called poblano. We eat them both ways but to keep the sauce a pretty red color, none of the green anchos were used for the sauce.

Here is the recipe:

1 pound mixed red chiles, stemmed then chopped. (If you prefer a milder sauce, remove the seeds before chopping the chiles. We leave them in.)
3-4 cloves garlic, peeled
1/4 cup rice vinegar
1 1/2 teaspoon sea salt, more if desired
2 tablespoons light brown sugar, more if desired

Place all the ingredients into the bowl of a food processor. Pulse to mix ingredients into a coarse paste.

Transfer the paste into a sauce pan and simmer while stirring occasionally for about 5 minutes.

Beware that the aroma may be intense, so opening the windows may be helpful.

Remove from the heat and allow to cool a bit.

Blend the mixture again in the food processor. Add water to make the sauce the consistency you prefer.

Strain the liquid through a mesh strainer into a bowl. Press the solids using a spoon or rubber spatula to press the liquid into the bowl.

Taste the sauce and add more sugar, salt or vinegar as desired.

Allow to cool then place it in a jar or bottle.

Now let's make some tacos!


Saturday, January 10, 2015

Braised Bok Choi

In the garden today, the bok choi caught my eye. As though wearing a crown, the leaves were edged in water droplets. 
They were delicately clinging to the edges,
defying gravity.
What a beautiful display of nature's beauty. 
And it's delicious too! Braised bok choi is what's for dinner tonight. This is a simple recipe of my husband's that I'll share with you. Although it is simple, the flavors combine to create a richly exotic taste. We serve it over brown rice.

Because this recipe is a stir fry, it cooks quickly. For this reason, I find it's best to get the ingredients ready and measured out before starting to cook. 

Braised Bok Choi

1 clove garlic, crushed
1 tablespoon ginger, grated
2 tablespoons peanut oil
1 pound bok choi, cut into bite-sized pieces
1 teaspoon sugar
1/8 teaspoon salt
1/8 teaspoon black pepper
3 tablespoons water
1 tablespoon oyster sauce
1 teaspoon sesame oil

Heat a wok until very hot. Add the peanut oil, garlic and ginger, fry while stirring constantly for one minute. Add the bok choi and fry for another minute, stirring constantly. Add the sugar, salt, pepper and water. Once the water is boiling, reduce the heat to low. Cover and simmer for 3 minutes. Stir in the oyster sauce and sesame oil and serve immediately.

It's yummy!


Monday, December 8, 2014

Homemade Kahlua

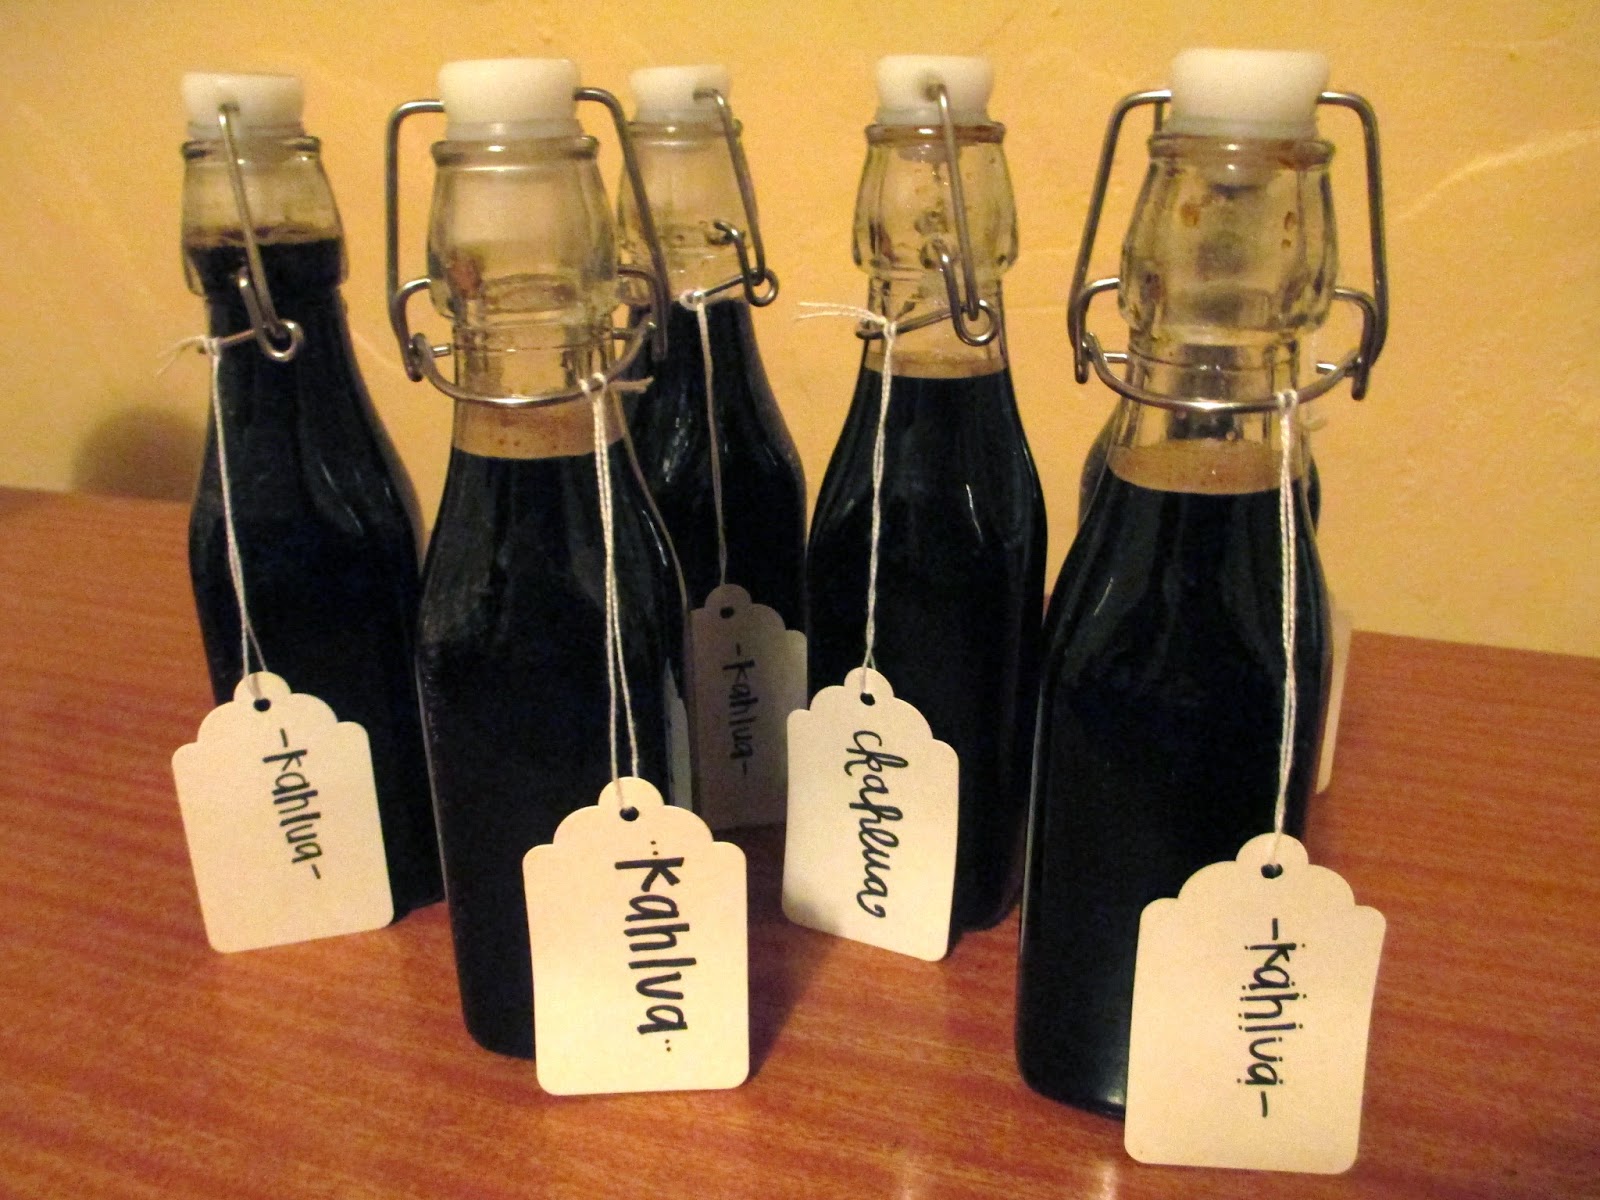
Homemade Kahlua is so delicious, so easy, and the perfect little gift for most of my friends. This recipe is my mom's. She is the one who introduced me to this liqueur of espresso, sugar and rum. She preferred hers mixed with cream over ice; a rich indulgence. It also pairs beautifully with coffee ice cream, or if you really want some serious sweetness try pouring some over a warm brownie. Can you tell I have a sweet tooth? Pour some in your coffee. It's syrup with a kick. 

I looked online and it turns out this recipe is posted often so it's not only my mom's. There are variations of this recipe online which use brown sugar instead of granulated, or vanilla extract instead of vanilla beans but this is the only recipe I've tried. Quite often I saw recipes using vodka instead of rum but since the Kahlua sold in stores is made with rum, why switch to vodka? I buy good colorless rum like Bacardi (not flavored rum). It's important to buy good instant coffee, it makes all the difference. Don't skimp and buy poor quality, it just doesn't taste as good. My favorite is Medaglia D' Oro Instant Espresso Coffee. Using instant coffee gives the liqueur an intensely strong coffee flavor. 

This batch was made with the company of my darling daughter who took the bottles to give as Christmas gifts for her friends. We bought the bottles and she wrote simple tags. You could get more creative with the packaging and labeling but we just used what we had on hand. I believe this recipe makes approximately 36 oz, our bottles were 6 oz each.

2 cups water
4 cups granulated sugar
3/4 cup instant espresso coffee granules 
2 1/4 cups rum
2 vanilla beans cut into thirds

Boil the water in a pot. Add sugar and instant coffee, stir until dissolved. Remove from heat and allow to cool to room temperature. Add the rum and stir. Place one piece of the vanilla bean into each bottle then pour the Kahlua into the bottles and seal them. Store them in a cool place for 2-3 weeks to let the vanilla infuse into the liqueur. Remove the vanilla bean by pouring the Kahlua through a strainer and rebottle the liqueur. It is now ready to give to your friends, or crack open a bottle and enjoy it yourself!

Saturday, November 1, 2014

Ginger Green Beans with Cashews

Sometimes the garden gives you delicious gifts such as these green beans that volunteered to sprout in my garden. I love it when that happens! My green beans were planted in succession. The harvest was wonderful but I had to pull the plants due to spider mites. I decided not to plant more then the volunteers appeared, and these plants faired much better. It seems the spider mites were bad during the early summer and not as bad in August/Sept. That's good to know for next year. I will continue to sow green beans until August, or maybe the volunteers will be back and save me the effort.

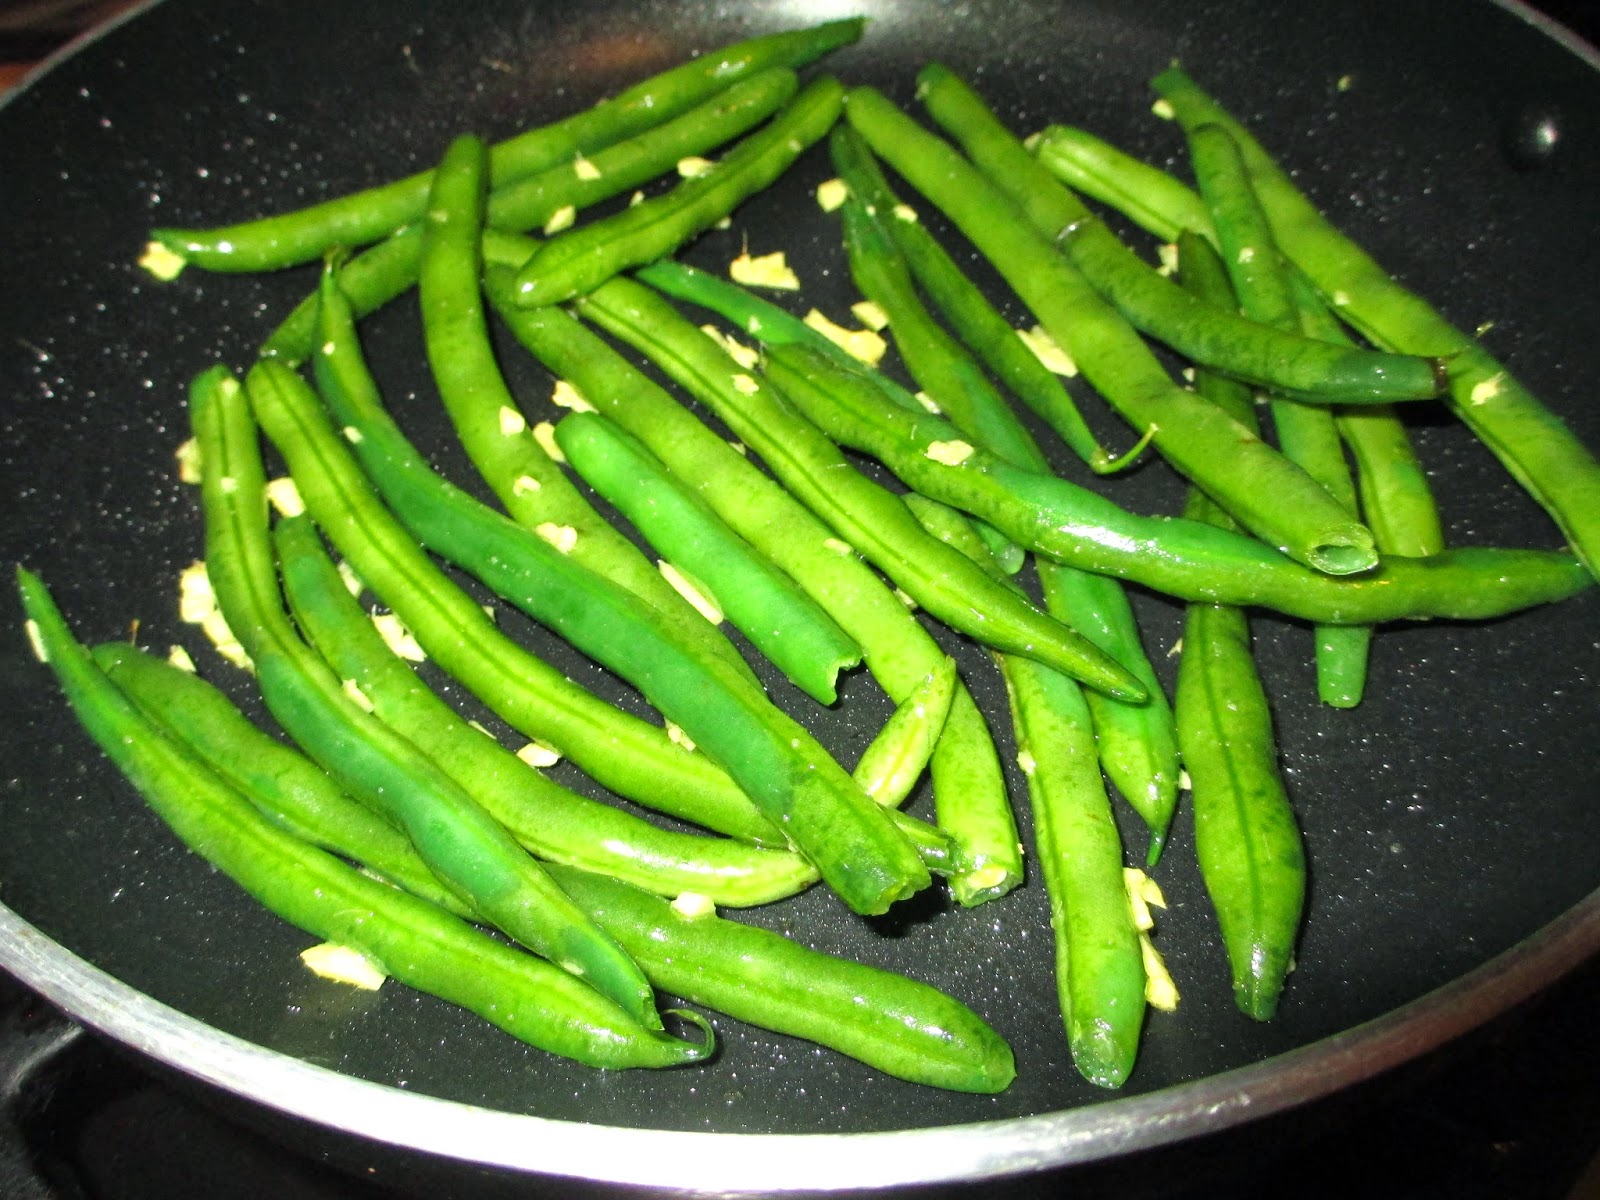
These vegan stir fry green beans are quick and easy, with added protein from cashew butter and cashews. You could easily substitute peanut butter or another type of nut. I enjoy the cashews because their sweetness combines well with ginger. 

I love ginger. It finds its way into my food because it is delicious but also because of its anti inflammatory and anti nausea benefits. I recently planted ginger in my garden for the first time. Read more about growing ginger and its health benefits here. 

I apologize that there are no exact measurements with this recipe, I just sort of estimate how much to add. It's the "add a little of this, and a little of that" approach to cooking that I learned from my husband who is a gourmet cook. He taught me to cook. I'm a lucky girl.

1 tablespoon Peanut Oil, or substitute another type of oil such as olive.
Green Beans a couple of handfuls, rinsed, dried then cut if desired.
1/2 to 1 tablespoon Ginger, peeled and minced. The more, the spicier.
2-3 tablespoons Cashew Butter 
1 tablespoon Soy Sauce
1/3 Cashews, coarsely chopped
1/4 cup Cilantro, coarsely chopped, plus one sprig for garnish.
1 tablespoon Sesame Seeds

Heat the oil over medium heat. 
Add the ginger and stir for 3-4 minutes taking care not to burn it. 
Add the green beans and stir another 3-4 minutes until the beans are slightly cooked. I like mine to be al dente.
Push the green beans to the edge of the pan and add the cashew butter and soy sauce to the center of the pan.
Stir the soy sauce into the cashew butter then mix it with the green beans to coat them.
My apologies for the poor quality of these photos. I have yet to develop the ability to take nice pictures without burning the food.
Add the cashews and stir fry another 2 minutes to heat the nuts.
Remove from the heat and place in serving dish.
Sprinkle with sesame seeds and cilantro, then garnish with a sprig of cilantro.
Now let's have a toast to the volunteers. "Cheers!"


Friday, September 19, 2014

Basil Hummus


What to do with all that basil? The possibilities are endless. Today I made basil hummus and it was delicious so I'll share the recipe in case you are looking for something to make with your bountiful basil. 

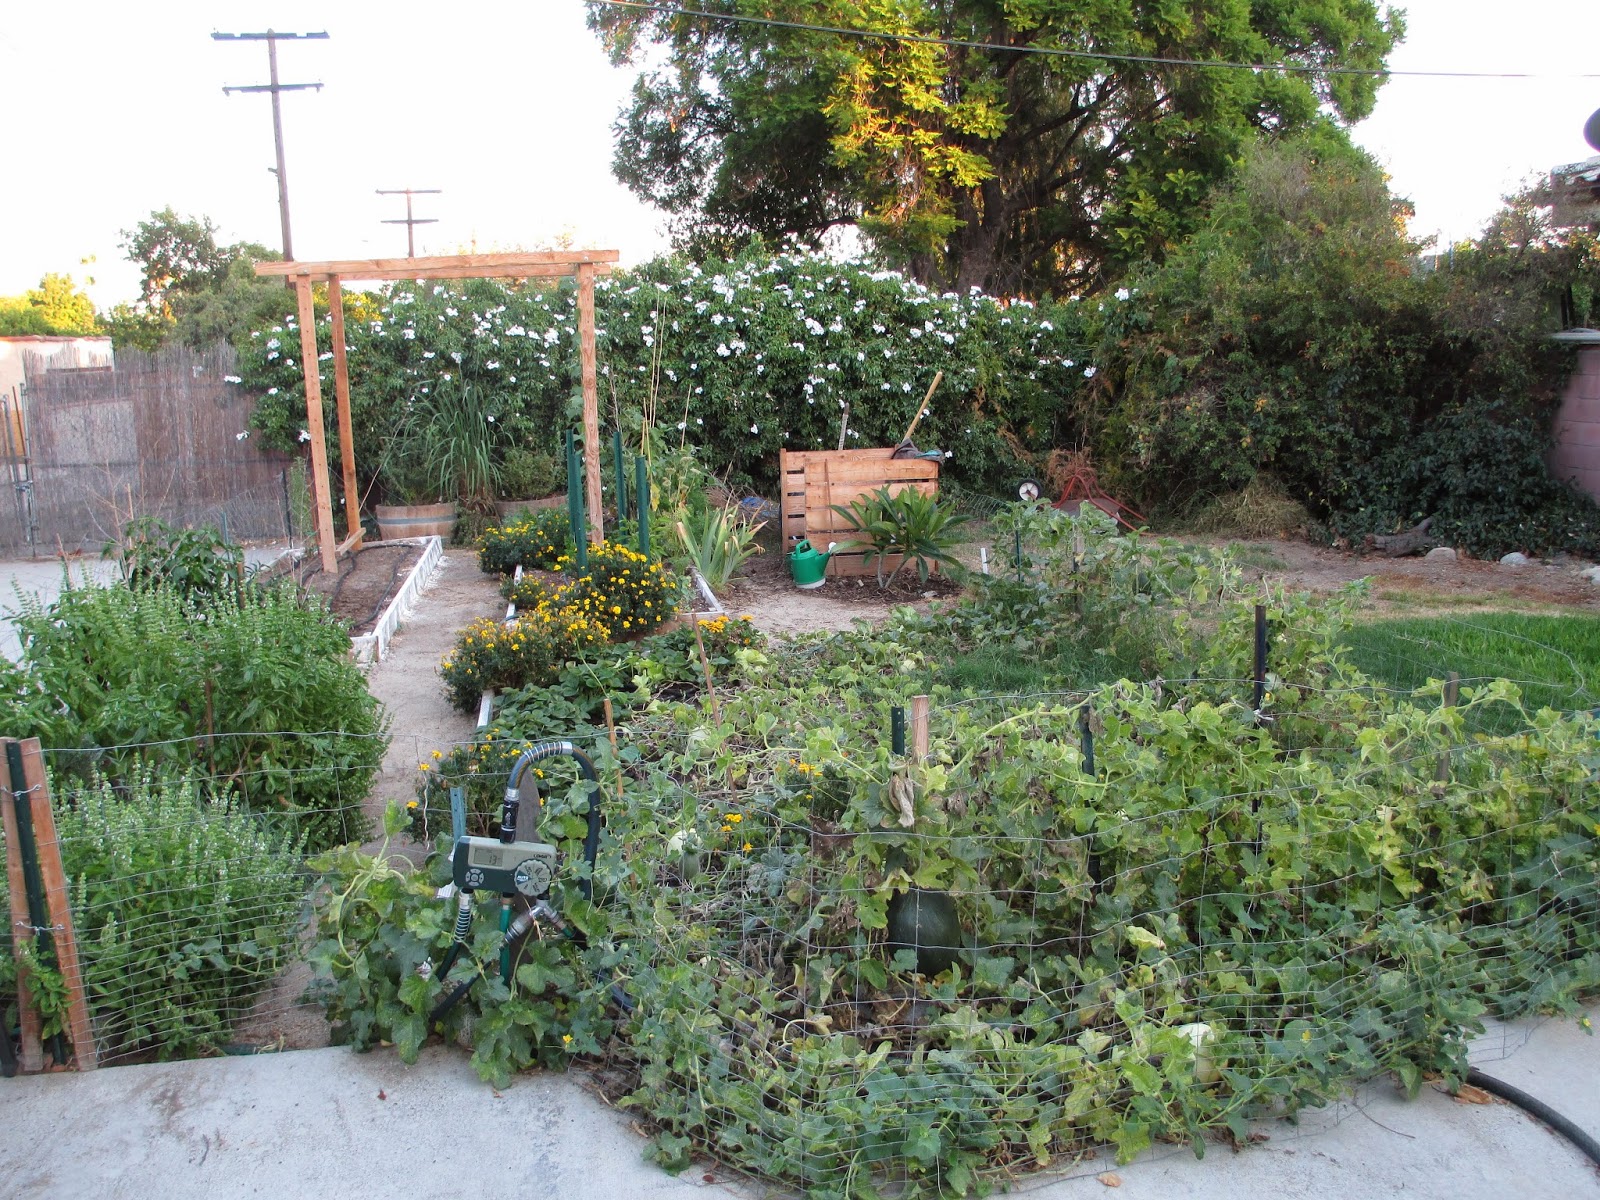
Thank goodness for basil. If not for it and the melons, my garden would look very sad. We're at the point in the summer when the heat has taken its toll and most of the veggies have been harvested. 

Our growing season in Southern California is a long one, as in all year long. We generally plant summer gardens starting in March/April, then in the fall we plant our winter gardens. September and October are typically really hot and dry. My summer garden is tired and so am I. The heat zaps my energy, so gardening this time of year is not appealing. 

I long for the cooler days of fall. I am inspired by seed catalogs and thoughts of fall planting but I can't seem to find the gumption to get out there and work. The list of chores to be done in preparation for the winter garden is long, but it is about a month too early to really get started. I have one bed cleared and the soil amended. There are spaces in the other beds left vacant by harvesting.
The melons are still producing their incredible bounty despite looking a bit fried.
So the bed with herbs is the one pretty spot, thanks to the basil.
I have harvested several plants. The leaves were rinsed, then allowed to dry before they were placed in snack-sized ziplock baggies and frozen. My stash of frozen basil leaves will allow us to enjoy fresh basil hummus this winter. Here's the recipe.

Basil Hummus

3 cloves garlic, minced
2 C fresh basil leaves, packed
1 1/2 C dried garbanzo beans, soaked in water over night, or 2 cans garbanzo beans
1/4 C pine nuts
1/4 C olive oil
1/4 C fresh lemon juice
1 1/2 tsp salt
1 tsp tomato paste
A few dashes of your favorite hot sauce. My favorite is Cholula. 
1/4 C water (or less)

Place the garlic and basil in a food processor and pulse for a few seconds until finely chopped.
Drain and rinse the garbanzo beans and add to the food processor along with the pine nuts, olive oil, lemon juice, salt, tomato paste and hot sauce. Pulse for a few seconds at a time until mixed. Add water a little bit at a time until the desired consistency is reached. 

Serve in a bowl with a little olive oil drizzled on top and garnish with some pine nuts and a sprig of basil. 

Enjoy!

Tuesday, August 26, 2014

Honeydew Melon in Coconut Milk - Delicious

You could say we have had more than our share of melon this summer. Having an abundance of melons led me to search for new recipes. Honeydew melon in coconut milk has become a favorite. It's a Thai version of strawberries and cream and it is divine.
It could use a little garnish, but it's eaten so quickly no one cares how it looks, kind of like a chocolate chip cookie that falls apart coming out of the oven.
1 can (14 oz) unsweetened coconut milk
3 Tbsp sugar
1 1/2 tsp fresh lime juice, or to taste
1 large honeydew melon, chilled

Stir together coconut milk, sugar and lime juice in a small metal bowl until the sugar dissolves. Put ice and water into a larger bowl then set the metal bowl into the ice water. Chill, stirring occasionally, until cold, approximately 6 min. 

Cut the melon in half, discard the seeds. Scoop melon into balls using a melon ball cutter or cut into small cubes.

Divide the melon into serving dishes and pour the coconut mixture over the melon.  

This recipe is from Gourmet Today, edited by Ruth Reichl. 


Sunday, August 10, 2014

Cantaloupe Cooler - Agua de Melon

One of the reasons I love my husband is he brings me things like this. It's melon water and it's fresh, light, sweet, and oh so delicious. And on top of that, it's easy and uses the seeds of the melon which are usually discarded.

This recipe is from Gourmet Today by Ruth Reichl. This cookbook is well-used in our home, a favorite for sure.

1 medium cantaloupe 
1/3 cup sugar, or to taste (we use 1/4 cup or less)
3 cups very cold water
ice cubes (optional)

Cut cantaloupe in half and scoop out the seeds with the juice and put it in a blender. Use the fruit for another purpose. Add the sugar and 2 cups of the cold water and blend on high for 1 minute. Pour through a fine-mesh sieve and into a pitcher. Press on the solids to squeeze out more juice, then discard the solids. Stir in the remaining 1 cup water. Serve chilled or over ice.  

Sublime! 

But I'm thinking rum would be a nice addition:)