Showing posts with label pole beans. Show all posts

Monday, June 29, 2015

Cosse Violetta Pole Beans

Cosse Violetta are beautiful beans, deeply purple on the outside, green inside. My current favorite bean, they are sweet and tender in addition to being pretty. And the flowers, well let's just say they are lovely.

Hanging in clusters, the pods grow to 10 inches long and are a striking contrast to their green foliage.
These vines are vigorous and have spilled over the top of my 8 ft tee pee. 
My dog loves Cosse Violetta beans! Here she is waiting for me to put down the camera and pick her a little snack.
When they are young, the beans are green then gradually turn purple. I love their stripes as they mature.
One interesting thing is, they tend to turn green when cooked. Oh, are they delicious!!


Tuesday, May 5, 2015

The Pole Beans that Aren't

Bush bean "mix" on the left, pole beans on the right.
I thought I was planting pole beans, but they aren't. They are bush beans. It was my mistake, no one to blame but me. I decided not to buy bush beans this year. Instead my plan was to make 5 tee pee trellises and plant pole beans in succession. Somehow I bought a mix of bush beans by mistake, and planted them first. They came up beautifully. Three weeks later I planted the second tee pee with Cosse Violetta pole beans.
April 23, 2015
Imagine my surprise when the mix didn't start to twist their way up the twine. The "mix" are bush beans, and they are bushy! They won't be climbing anything.
Bush bean mix
Bush bean plant with multiple stems.
Bush beans grow to about 3 feet high and two feet wide. They tend to produce their beans all at one time.

Pole beans are vines that can grow 8-10 feet long. They need trellises like my tee pees. 
Cosse Violetta pole beans climbing the tee pee.
Pole beans have one twining stem.
The bush beans are healthy so I'll let them grow. They are starting to bloom.

Next time I'll read the package better. But for now I'm going to enjoy those bush beans that are coming soon!


Sunday, March 15, 2015

How to Build a Green Bean Tee Pee

Deciding of what type of trellis to build for my beans and tomatoes is my current challenge. I have tried various types of trellises and this year I am making a new type of bean tee pee. Well, it's new for me. I wanted to use materials that I already have instead of buying new supplies. I have these round garden poles that are coated in green plastic. They are 8 feet tall. I discovered that a PVC coupling fits perfectly on the end of the pole and it doesn't slip down because of the raised ridge inside the coupling. Drilling holes in the coupling allowed me to tie twine to it. This is how I was able to attach 8 strings to the top of the pole without them sliding down.
Place the coupling in a vice and use a relatively large drill bit.
Drill through both sides of the coupling.
Now drill another set of holes to make 4 holes.
The coupling slips easily onto the end of the stake.
Actually I decided it would be much easier to cut the twine and tie it to the coupling before attaching it on the pole. It was at least 90 degrees in Los Angeles this weekend, so the idea of standing on a ladder and fiddling with all that twine just did not appeal to me. In the cool garage, I tied the twine onto the coupling, taking care to bundle the long strands so they did not get entangled.
I have high hopes for my beans, so I want these tee pees to be as tall as possible. I didn't want to pound 2 feet of the pole into the ground for stability, so I pounded 3 ft long rebar stakes into the ground, leaving about 8 inches above ground. Then I pushed the green pole about one foot into the ground right along the rebar and tied them together with wire.
After placing the coupling onto the top of the pole, I used "U" shaped hooks to attach the strands of twine about one foot from the pole, evenly spaced.
It helps if you compact the soil where you push in the hook, otherwise it will pull out easily.
I planted 3 seeds near each string and I'll thin them to 2 each. 

One tee pee down, 4 more to go. Not today though. It's too hot, and I am going to plant my beans in succession. In a month or so, I'll make the next one. I have space for 5, so if I make one per month I should have beans all summer!


Saturday, November 1, 2014

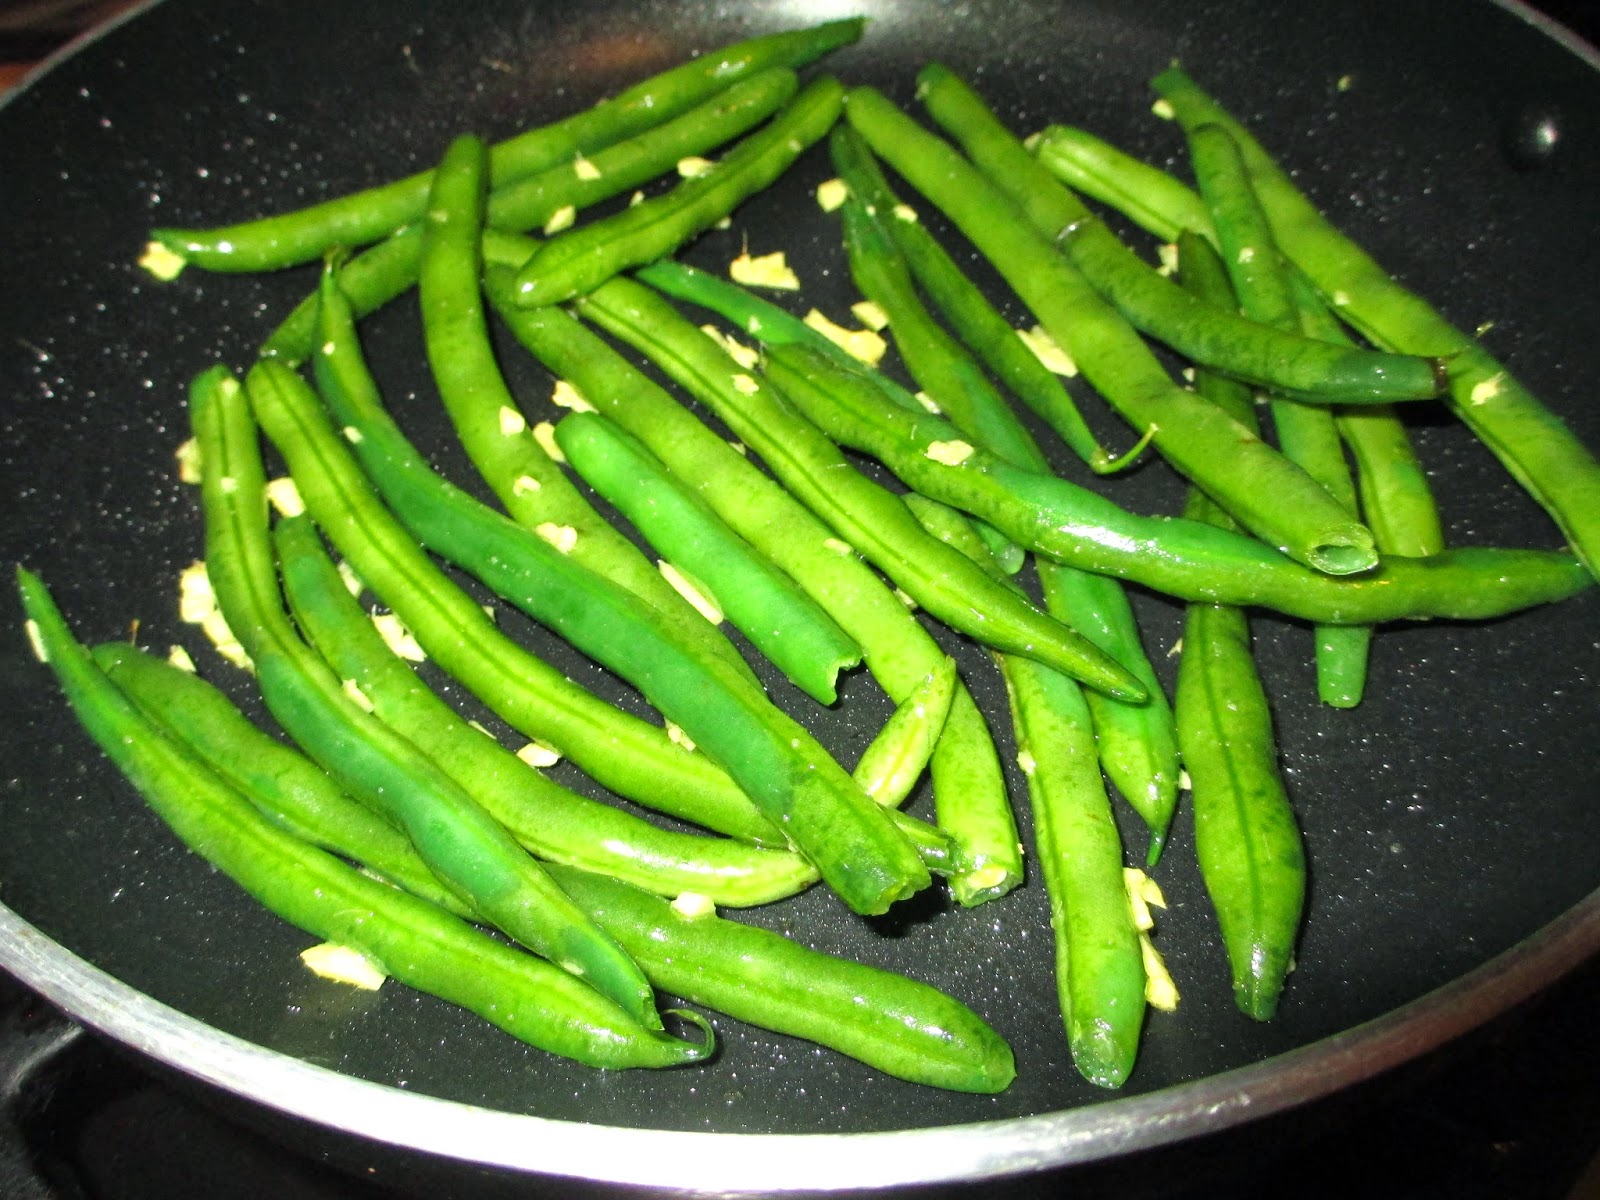
Ginger Green Beans with Cashews

Sometimes the garden gives you delicious gifts such as these green beans that volunteered to sprout in my garden. I love it when that happens! My green beans were planted in succession. The harvest was wonderful but I had to pull the plants due to spider mites. I decided not to plant more then the volunteers appeared, and these plants faired much better. It seems the spider mites were bad during the early summer and not as bad in August/Sept. That's good to know for next year. I will continue to sow green beans until August, or maybe the volunteers will be back and save me the effort.

These vegan stir fry green beans are quick and easy, with added protein from cashew butter and cashews. You could easily substitute peanut butter or another type of nut. I enjoy the cashews because their sweetness combines well with ginger. 

I love ginger. It finds its way into my food because it is delicious but also because of its anti inflammatory and anti nausea benefits. I recently planted ginger in my garden for the first time. Read more about growing ginger and its health benefits here. 

I apologize that there are no exact measurements with this recipe, I just sort of estimate how much to add. It's the "add a little of this, and a little of that" approach to cooking that I learned from my husband who is a gourmet cook. He taught me to cook. I'm a lucky girl.

1 tablespoon Peanut Oil, or substitute another type of oil such as olive.
Green Beans a couple of handfuls, rinsed, dried then cut if desired.
1/2 to 1 tablespoon Ginger, peeled and minced. The more, the spicier.
2-3 tablespoons Cashew Butter 
1 tablespoon Soy Sauce
1/3 Cashews, coarsely chopped
1/4 cup Cilantro, coarsely chopped, plus one sprig for garnish.
1 tablespoon Sesame Seeds

Heat the oil over medium heat. 
Add the ginger and stir for 3-4 minutes taking care not to burn it. 
Add the green beans and stir another 3-4 minutes until the beans are slightly cooked. I like mine to be al dente.
Push the green beans to the edge of the pan and add the cashew butter and soy sauce to the center of the pan.
Stir the soy sauce into the cashew butter then mix it with the green beans to coat them.
My apologies for the poor quality of these photos. I have yet to develop the ability to take nice pictures without burning the food.
Add the cashews and stir fry another 2 minutes to heat the nuts.
Remove from the heat and place in serving dish.
Sprinkle with sesame seeds and cilantro, then garnish with a sprig of cilantro.
Now let's have a toast to the volunteers. "Cheers!"


Friday, May 16, 2014

Prolong Your Harvest - Succession Planting

Pole beans and tomatoes planted in succession.
Want to enjoy green beans all summer? Plant seeds at 3 week intervals. Known as succession planting, this allows you to enjoy fresh vegetables for a longer season as not all of your crop will be ripe at once.

Learn from my mistake. Last spring I put in my garden to keep busy as my kids grew up. To say I was inspired is putting it lightly. I had a new project and nothing makes me happier than a new project. I couldn't wait to get the seeds planted because I couldn't wait to see the garden turn green. 

On the seed packets, it was suggested that I plant seeds in succession but I couldn't resist. I planted everything at once. Later in the summer I regretted it. All my beans were gone and there were still weeks of hot bean growing weather left in the season. Too late to plant then, but if I had taken the seed packet advise I would have enjoyed those beans for many more weeks.

This year I planted melons in succession, roughly 3 weeks apart.
Melons mounds (left to right); cantaloup, honeydew, Crenshaw, cantaloup
Carrots were planted in 3 week intervals. So far I have 4 plantings of carrots. We are eating the first round, and the fourth round just germinated.
First carrots of the season, harvested May 11.
This is my cucumber mound. The plants on the right were planted on March 4th. The ones toward the back/left were planted April 5th. There are two types of cucumbers planted in the same mound for variety.

For me, it's all about learning as I go. It's amazing how much I learned about vegetable gardening in the year since I started my urban garden. 

Like... it's good to take advise from seed packets.