Saturday, December 27, 2014

Sharing Some Winter Color

The air is cool and crisp this morning in Southern California and I couldn't resist taking some pictures of the flowers in bloom today. The sky is clear and the birds are singing, welcoming us to a brand new day. I just love going on a tour of my garden first thing in the morning. Those calm moments connecting with nature bring a simple joy to me, so today I'll share some of the flowers in my garden in hopes that the pictures will bring that joy to you.
Camellia 
Rose
Bougainvillea 
Tiny rosemary blossoms
Iceberg rose with rose hip
I must need more coffee because for the life of me I cannot recall the name of this flower. 
Rose
Magnolia seed pod
The day is young, and what a bright, lovely day it is!


Sunday, December 21, 2014

Quick Window Boxes for Christmas

'Tis the season to be super busy. My window boxes were empty, waiting for me to take the time to bring them to life once again. The problem is time, and I had almost given up on filling them with fall/winter plants. There are 7 boxes in front of our home and having them looking pretty immediately transforms the house. If they are empty, the house has a sad look. When I found these red cyclamen for half price, that motivated me to take the time and make some quick Christmas window boxes. Boy, am I glad I did!

Planting the window boxes is one of my favorite garden projects. Usually the project takes most of a day because I remove the soil, scrub them clean, add new potting soil and amendment, and fill them with lots of plants. This year I took some short cuts. The soil was soaking from recent rains and the boxes were very heavy, so I left them on the brackets and left the old soil. I added some amendment, this is my favorite for transplanting. 
I rarely lose a plant and have very little transplant shock if I add this when transplanting. After sprinkling some on top, I dug it in and loosened the soil to aerate it. Then I planted red cyclamen, white stock, and white pansies.
Typically I plant many more small plants in one window box. For these quick planters I just stuck in some small branches cut from the bottom of our Christmas tree. 
They filled the gaps nicely, were available and less expensive than another flat of flowers. Once they dry out, I will pull them and decide if the plants have filled in enough. If not I can easily add plants. 
This little angel has been in my garden for twenty years, watching over the window boxes. 


Monday, December 8, 2014

Homemade Kahlua

Homemade Kahlua is so delicious, so easy, and the perfect little gift for most of my friends. This recipe is my mom's. She is the one who introduced me to this liqueur of espresso, sugar and rum. She preferred hers mixed with cream over ice; a rich indulgence. It also pairs beautifully with coffee ice cream, or if you really want some serious sweetness try pouring some over a warm brownie. Can you tell I have a sweet tooth? Pour some in your coffee. It's syrup with a kick. 

I looked online and it turns out this recipe is posted often so it's not only my mom's. There are variations of this recipe online which use brown sugar instead of granulated, or vanilla extract instead of vanilla beans but this is the only recipe I've tried. Quite often I saw recipes using vodka instead of rum but since the Kahlua sold in stores is made with rum, why switch to vodka? I buy good colorless rum like Bacardi (not flavored rum). It's important to buy good instant coffee, it makes all the difference. Don't skimp and buy poor quality, it just doesn't taste as good. My favorite is Medaglia D' Oro Instant Espresso Coffee. Using instant coffee gives the liqueur an intensely strong coffee flavor. 

This batch was made with the company of my darling daughter who took the bottles to give as Christmas gifts for her friends. We bought the bottles and she wrote simple tags. You could get more creative with the packaging and labeling but we just used what we had on hand. I believe this recipe makes approximately 36 oz, our bottles were 6 oz each.

2 cups water
4 cups granulated sugar
3/4 cup instant espresso coffee granules 
2 1/4 cups rum
2 vanilla beans cut into thirds

Boil the water in a pot. Add sugar and instant coffee, stir until dissolved. Remove from heat and allow to cool to room temperature. Add the rum and stir. Place one piece of the vanilla bean into each bottle then pour the Kahlua into the bottles and seal them. Store them in a cool place for 2-3 weeks to let the vanilla infuse into the liqueur. Remove the vanilla bean by pouring the Kahlua through a strainer and rebottle the liqueur. It is now ready to give to your friends, or crack open a bottle and enjoy it yourself!

Tuesday, December 2, 2014

Updates on Ginger and More

The ginger is growing! This is my first experience growing ginger. It is one of my favorite spices so I decided to plant the piece that was sprouting in my pantry. Here's a link to my post about growing ginger.  I planted four pieces of ginger in a clump.

The first sprout came up quickly, only 2 weeks after planting. 
Planted on Oct. 16, this sprout appeared on Oct 31.
The others have been much slower, in fact I was getting worried the others wouldn't grow. I have been anxiously awaiting the arrival of the fourth sprout and it finally came last week.
It's interesting that the four plants came up at different times so they are all different sizes. 
The third to arrive.
The youngest one was damaged as I pulled weeds and cultivated. I broke off the tip. OUCH. 
Being so new and tender, I guess I just bumped it with the trowel and it broke. Hopefully it will still grow. 

In other news:

I have been pleased with the way my new cabbage covers have held up to the wind and rain. 

Not one of them has suffered any damage so my design is handling what mother nature has offered so far. The plants are growing beautifully without any cabbage butterflies to bother them. Read how I made them here.

The peas are about 2 feet high and the trellis is holding up really well. 

I designed and built it last spring. It is built to be taken apart for storage but it has remained there, supporting beans and tomatoes in the summer, and now peas for our winter crop. The one thing I would change about the design is I would not bother with the horizontal strings. The crops don't really rely on them and the vertical strings seem sufficient. Here's the link if you want to see how mine is built.

The tangelo tree is loaded and the fruit is starting to turn orange. 
Here's what I see when looking up from my favorite patio chair.

I'm finally tackling the neglected corner of my yard which was a tangled mess and eye sore.
For years this corner was left completely alone, a doggy toy graveyard and thorny combination of duranta and rose.
Duranta erecta
Duranta berries
Of course some of my nemesis, the dreaded asparagus fern, was growing there too along with some jasmine. 

I am getting inspired to make something out of this corner. Right now I have blueberries on the brain. They are my favorite fruit so I may just put them in barrels along the back fence.
For now, the clean up continues but the planning has just begun.
And as always, sweet Bessie May is by my side.


Sunday, November 30, 2014

Mystery Solved

In June these seeds appeared scattered throughout my property. I mean they were everywhere and I did not know what they were. I posted about it, you can read that post here. I asked for help in solving my mystery and one reader, Michael, suggested they were palm seeds.

Indeed, they are palm seeds. And now I know that November is palm seed germination month in Los Angeles. 
Palm germinating next to rose bush.
They are everywhere, popping up in pots, beds, pathways, cement cracks, and window boxes.

The thing about them is, you have to pull them when they are young or they are a bear to remove. 
My relationship with palms goes way back. I grew up in the Palm Springs area which is famous for its date palms, so you would think I would know a palm seed when I saw one. I guess I never noticed the seeds before.

To me palms are iconic California and make a lovely silhouette against the sky but like jacaranda trees, they are not something I want growing on my property. 
We are finally getting some rain!
They are messy and dangerous. Have you ever heard a palm frond crashing to the ground? It will dent a car, so it would not feel good coming down on your head.  

As in many cities in Southern California, there are palms planted on the parkway in our neighborhood. The nearest palm to me is across the street and yet we must all deal with the mess. These palms are at least 100 ft tall so they are able to spread their stuff all over. Here's our tree so beautifully adorned with palm fronds after recent winds.
And across the street is the mess maker.
Here's a nice collection on the corner of our lawn.
I guess I could gather some more and make a cabana, except I don't want one.

And look anywhere on our property and you will find palms sprouting up. 

Free palm trees at my house! (And every other house in our neighborhood.)


Friday, November 21, 2014

Making Bigger Cabbage Row Covers

Want to keep cabbage worms from eating holes in your plants? Me too. I've tried checking the plants daily and removing the worms as they hatch, but miss a few and the next day the plants are half eaten. This year I'm covering the plants with tulle to keep their butterflies from laying eggs on the leaves. No eggs means no worms to destroy the cabbage, kale, broccoli and cauliflower. 
Cabbage worm eggs on the underside of my cabbage leaf. The butterflies are creamy-white with one or two black dots on the wings.
My first attempt at making a cabbage row cover uses bamboo poles and it works well, but it is small. Read about it here.
Arch-shaped cover made of bamboo poles and tulle.
I realized after it was made it that the arched shape reduces the space inside for the plants to grow. What was needed was a cube-shaped cover, and this is the design that came to me early one morning while enjoying my coffee and pondering the plight of my kale. 
The box shape will give my plants more room to grow. Why not dream big?

It's made of metal poles, 20 gauge wire, tulle and small hinged hair clips.
The hair clip secures the tulle to the wire "frame".
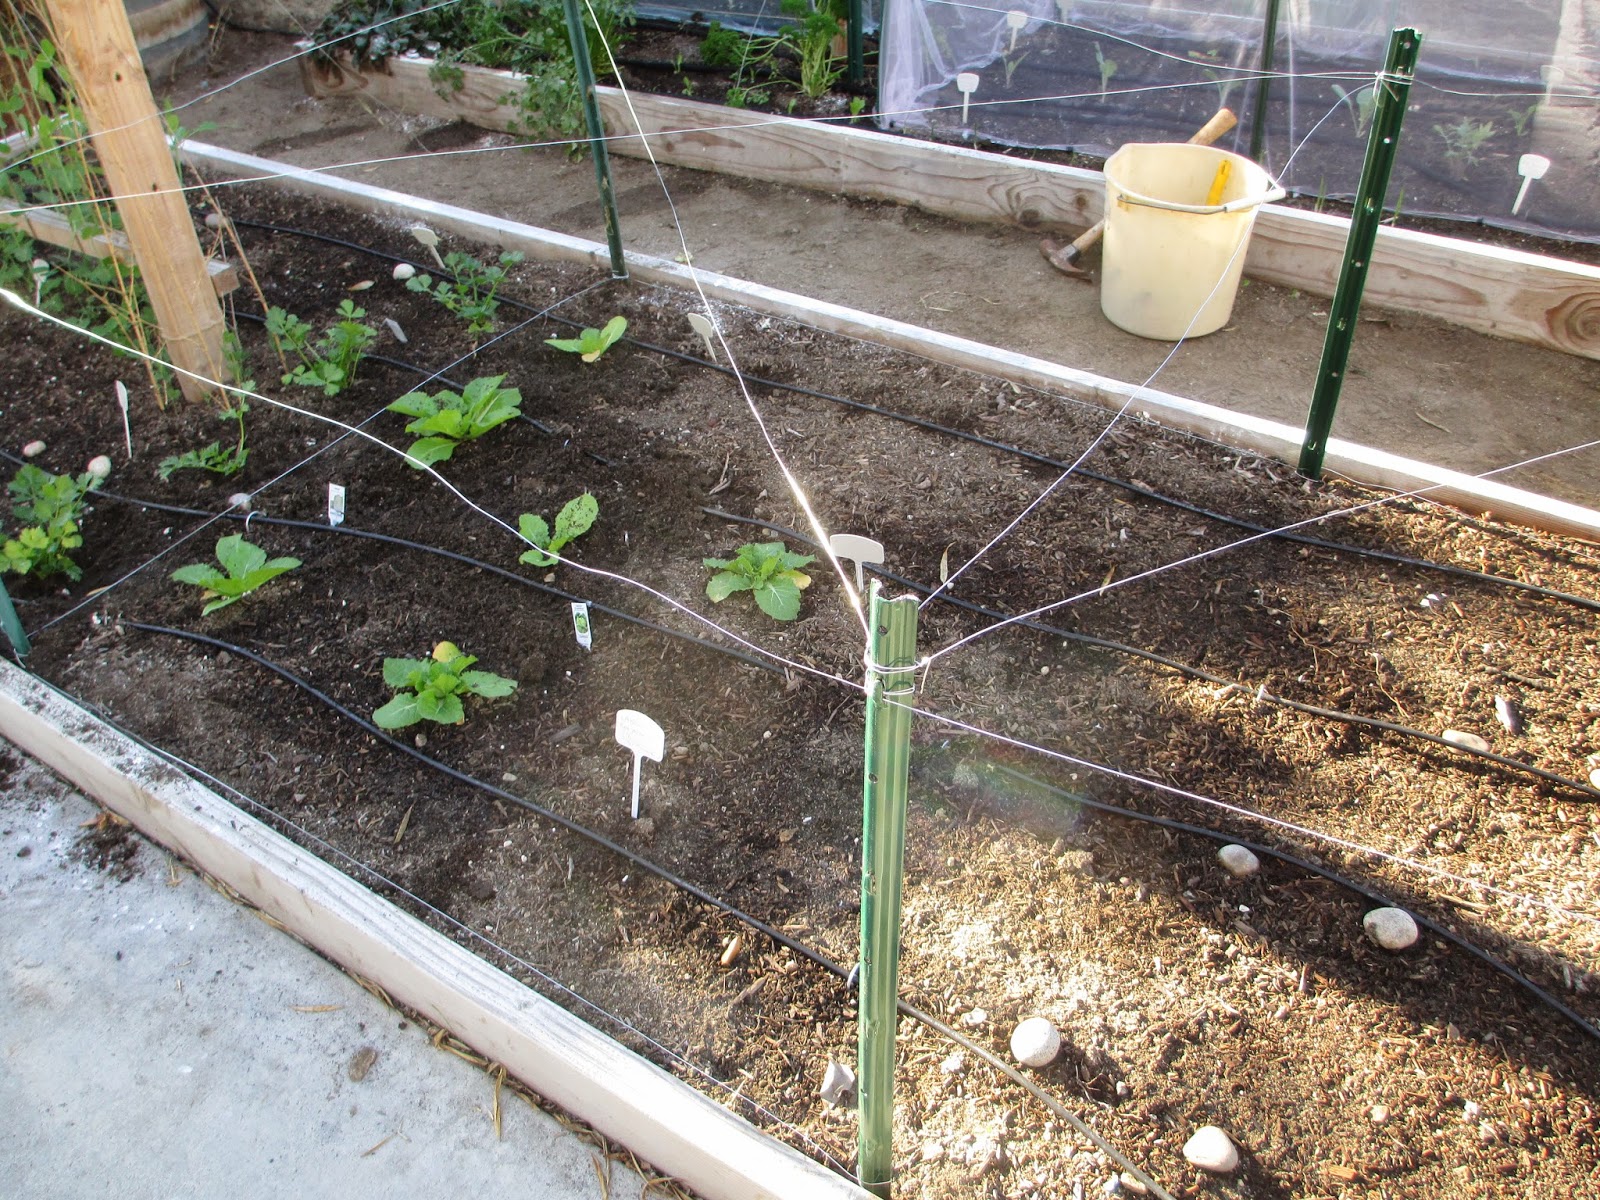
The idea is you pound stakes in the corners, then you make the cube-shaped "frame" by wrapping the wire around the bottom very close to the ground. Pull the wire tightly so the frame is not floppy. It helps to wrap the wire tightly around each post to keep the wire from being too loose.
Then wrap wire around the top. I also did a diagonal piece across the top to keep the tulle from sagging.
Here's another example in another bed.
Take care to tuck under the ends of the wire to avoid snagging the tulle.
Arrange the tulle over the "frame". 
Cut the tulle long enough that you have a couple of inches to fold over the wire and secure it with the clips.
The fabric was wide enough to cover three sides and the top, but this side was not covered so I cut another piece to fit with edges overlapping a few inches.
Here's the finished cover. It's tall because I have high hopes for tall kale plants.
You can water right through the tulle or unclip the fabric from the bottom for (relatively) easy access. 

If you decide to make this type of cover, here are some considerations:

Tulle is sold by the yard at most fabric stores and it is usually 54 inches wide. I got mine for less than one dollar per yard. There are two types of tulle; matte and shiny. I chose matte because I didn't want the covers to by shiny. There is no particular reason I chose these colors except I like them.

Measuring your space in advance will help you to decide how to arrange the tulle and how much fabric you will need. It will also help to consider the width of the fabric when designing your frame. 

Try to arrange the tulle so that there are as few cuts as possible to minimize the gaps where insects can get inside.

Tulle is relatively delicate, so avoid draping the tulle over sharp sticks or rough posts which can tear it. Draping it over the wire instead of the posts will make it less likely to tear. In some places you may need to cut holes into the tulle and poked the post through the hole.
The hair clips were purchased at the dollar store, 30 clips for one dollar was a bargain.

I will be interested to see how these hold up in a wind storm. As I was making them I just kept reminding myself that they only have to keep out butterflies, not lions. 

So far, so good.