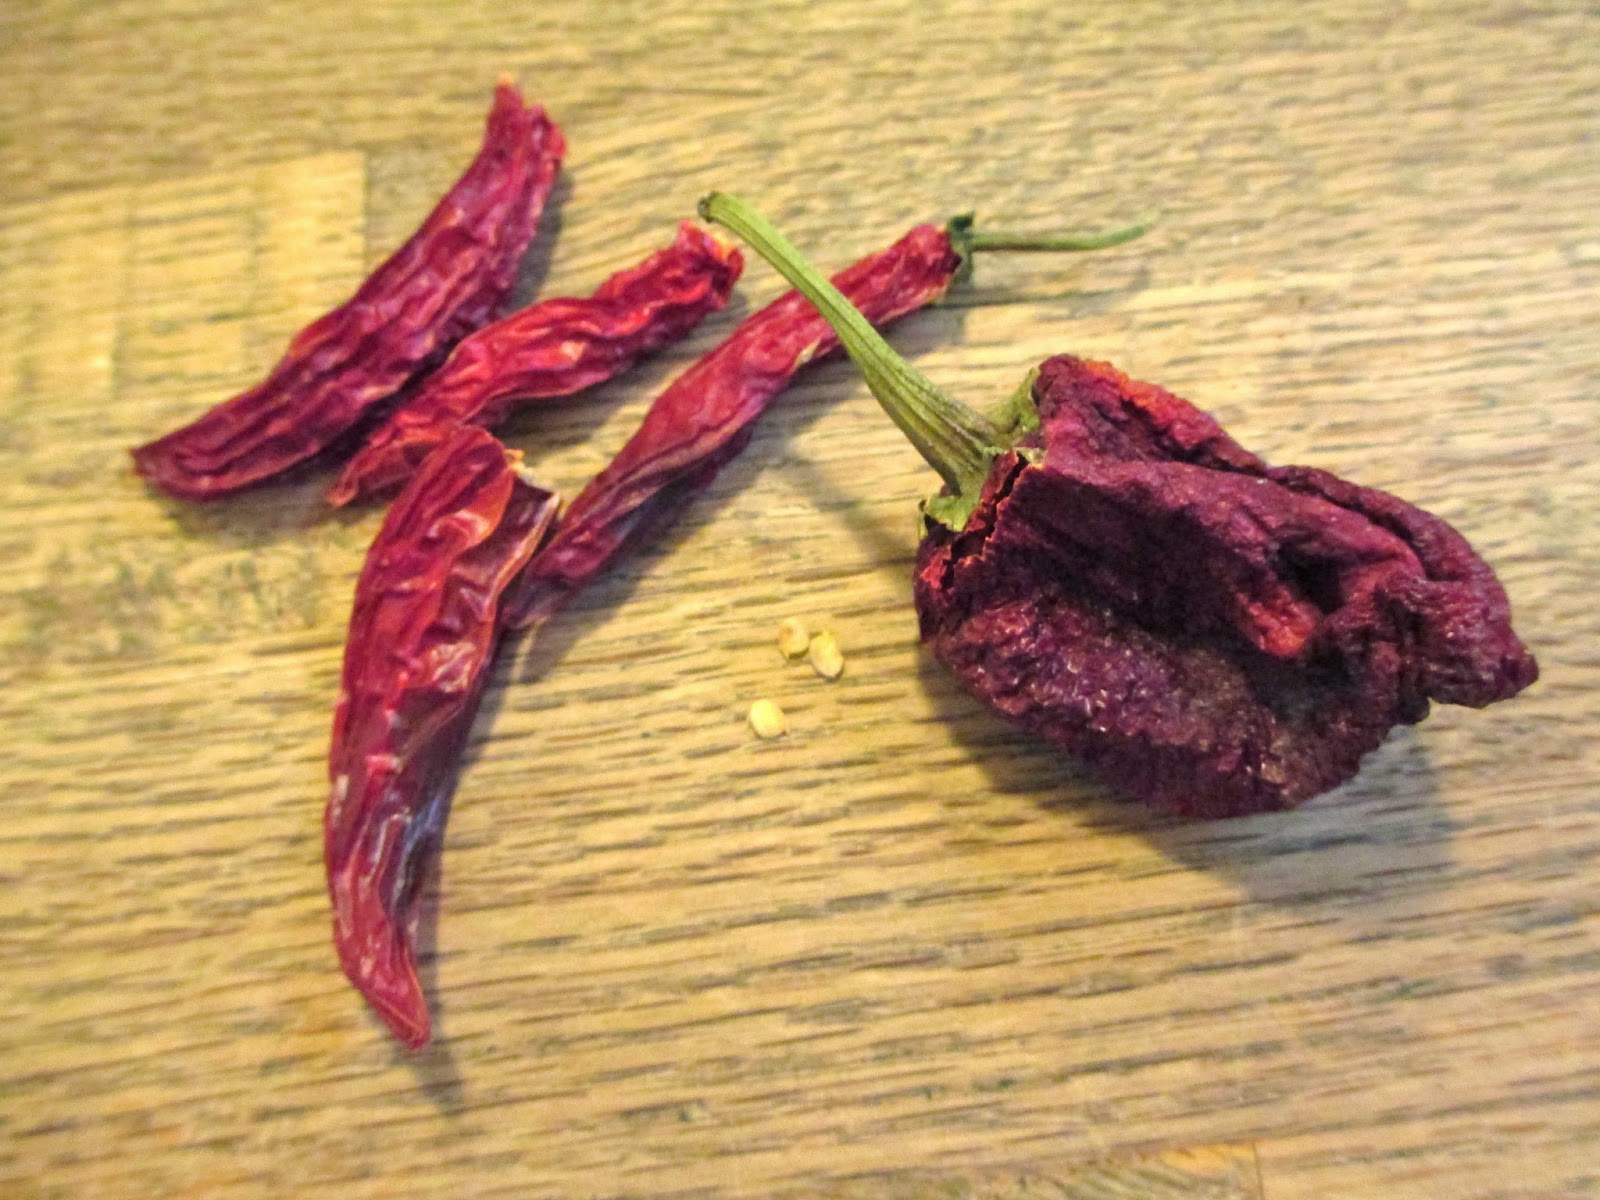
To make the garland you will need scissors, a needle long enough to go all the way through your larger chiles, and embroidery thread or thin string.
Wash and dry your chiles before you string them. It is best if the stems are left intact.
Pierce the chile below the green part where the stem meets the chile. It will be more stable and less likely to tear through if you leave the stems on the chiles.
Tie a simple knot between them to keep them separated.
Add another chile, knot, chile, knot.
Take care not to allow the garland to become tangled while working with it. Take it from someone who knows, having it become tangled causes a time consuming and frustrating delay.Hang the garland to dry. These chiles have been hanging for a few weeks and they are dry and ready for storage.
The chiles are easily removed by just a simple tug, no need to cut the string. This makes it easy to remove a few as you need them without removing the whole garland.
These dried chiles will be stored in a paper sack.
The chiles look lovely draped above the entry to our breakfast room.This room I recently redecorated and I love how the chiles coordinate with the red in the bird fabric. I just fell in love with the birds so I made these valances and pillows, painted and had the cushions reupholstered. It's a cheery room where we eat most of our meals.
Notice the sriracha sauce in the bottle? My husband made if from our chiles. Click here for the recipe.


No comments:
Post a Comment