Sunday, October 19, 2014

Replacing Clogged Soaker Hoses

Just when I thought I was ready to plant the seeds for our winter vegetables, garden karma said, "Not so fast." The debris was removed, the soil was amended,
and carefully leveled, tenderly smoothed. It was ready for seeds.
The final task before planting seeds was to test the automatic soaker hose system.

Fail. 

Our hard water clogs the tiny pores of the soaker hose, so after 5 minutes there were only a few drops leaking slowly out of the hose. At this rate, the stations would have to run 12 hours to soak a few inches of soil. There are places where the water seeps through and areas where it is dry.
This has been an ongoing saga in my garden. Our water is hard. When it dries, the water leaves hard deposits on everything from dishes in the dishwasher to car windows, and it ruins my soaker hoses. Because this keeps happening, I keep replacing the hoses. Every season I buy new ones and so today I decided to try something else. 

In one bed, I replaced the porous 1/2 inch soaker hose with 1/4 inch drilled tubing. This tubing has holes drilled every 6 inches along one side of the tubing.
The drilled holes are larger so hopefully they will not clog as quickly as those tiny pores of the other hoses. The problem with this type of hose is that the water comes out with some force, a tiny stream.
Because of this, it's important to have the holes pointing down so the water does not spray up into the air and onto the pathways and pavement. This was tricky because the tubing comes coiled and it wants to stay coiled.
The stakes were helpful to keep the tube straight and the holes pointing down.
In order to attach this 1/4 inch tubing to my garden hose, I used a swivel adapter (the white piece) and a 4 port manifold.
The 4 port manifold comes with small black caps that you twist off to attach the 1/4 inch tubing.
This will allow me to run 4 lines off of the one garden hose. According to the packaging, each line should be no longer than 15 ft in order to have enough pressure to function correctly, so I needed 4 lines to cover my bed.
At the end of each line is an end plug which creates the pressure needed to force the water out of the holes in the tubing.
Be sure when attaching the tubing to the manifold that the arrows printed on the tubing point in the direction that the water flows. 
It will be interesting to see how this new drilled tubing works in the garden beds. After running the water for a few minutes, it is clear that this tubing put out a lot more water than the previous porous soaker hoses. The soil under the surface is more evenly moist, but the surface is not moist between the holes.
It seems that I will need to hand water the seeds to keep them moist until they germinate and establish their root systems. For those seeds that should be sowed every 6 inches, I planted them in the moist zones. 

Like any garden project, this is an experiment. I can foresee problems with this system including the tiny streams of water creating holes in the soil or disturbing tender seedlings, or shooting into the air wasting precious water. Time will tell.

I'm curious if any of you have this problem with soaker hoses becoming clogged, and what solutions you have for this issue. 


Thursday, October 16, 2014

Growing Ginger - My First Time

The ginger in my pantry has started to sprout, so I guess it's finally time to plant some ginger in the garden. I mean, if this rhizome is this determined to grow, it deserves to be planted. 
Ginger is one of my favorite flavors. I love it in Thai vegetable soup, with stir fry vegetables, in carrot juice, and my guilty pleasure is my husband's homemade ginger ice cream. Ginger is something we always have in the pantry since it keeps well when stored in a dry place. 

The health benefits of ginger have been well-studied and include soothing gastrointestinal distress (nausea and gas), boosting immunity, relieving motion sickness and morning sickness, reducing inflammation and fighting cancer. Being a person who lives with chronic joint and muscle pain, I feel that controlling the inflammation in my system helps me manage my pain. Anti-inflammatory medications upset my sensitive stomach, so I choose the natural route to wellness. I prefer delicious ginger over a pill any day.

Ginger tea is my favorite go-to remedy for an upset stomach. Simply peel and slice some ginger and steep it in hot water for a few minutes, add a squeeze of fresh lemon juice if you want. There you have it, stomach relief the natural way.

This is my first time planting ginger in the garden, and although early spring is the ideal time to plant it, my nurseryman said it's fine to plant it now in my Los Angeles area garden. I figured it's worth a try since my rhizome is already sprouting, so I did some research and this is what I have learned about growing ginger. 

It grows in tropical zones (USDA Hardiness Zones 7 and higher). In cooler climates it can be grown indoors. You can purchase ginger root in the grocery store. Technically it is not a ginger root that we eat, but rather a rhizome. People refer to it as ginger root, and I'll use both terms. Look for plump roots with multiple "fingers". If there are green tips at the end of the fingers, that is good because those are the growth buds. 
To plant the root, choose a sheltered area. Dappled sunlight is ideal, or plant in partial shade. The plants are sensitive to frost and wind so I chose an area next to a covered brick patio where it will be tucked behind a rose bush and underneath our tangelo tree. 
Ginger was planted where you can see the blue tape covering the hose end toward the left.  My dog approves, Sweet Bessie May.
This is the bed where I recently transplanted some strawberries. Read about transplanting strawberries here.

Ginger prefers rich, light and well-drained soil. It prefers to be evenly moist, and likes humidity. This bed was basically sand, so I added plenty of organic compost. The soil ended up being one part sand and one part compost. This organic compost had chicken manure added so hopefully it will be rich enough. I will continue to mulch the area with homemade compost as needed.

Break apart the ginger into 1-2 inch pieces, each with growth buds. 
After you break it apart, leave the pieces exposed to the air for at least one day. This allows the cut ends to harden so they won't rot.

Planting depth is something that I've found varies by author. Some say to plant no deeper than one inch, some say to plant the rhizomes 3-5 inches deep. I decided to plant mine 2 inches deep.  I spaced the pieces 4-5 inches apart in a clump.
The rhizomes will develop and spread out to create a clump. Apparently they do not mind being a bit crowded so I decided to grow one clump instead of spreading the pieces out more. Being my first experience, I'm looking at this as a bit of an experiment. Maybe I will regret planting them so close together. I've also read that the rhizomes may even push toward the surface of the soil and become exposed which is said to be no problem. 

The foliage grows to 4 ft high and will die back in all zones except zone 10. Since I live in zone 10, I'm hoping for green leaves all year, but we will just have to wait to see.

It takes several months for the roots to grow enough to be harvested. It can be harvested all at once in late summer/early fall once the leaves have turned brown. Simply dig up the clump, remove the foliage, rinse then dry the rhizomes. As you harvest the clump, you can simply break apart some of the fingers and replant them to grow your next crop.

If you are like me, waiting nearly a year to harvest the mature roots will be difficult. The young rhizomes can also be harvested before then if you gently remove some smaller outer pieces without disturbing the plant. These younger parts are less potent, with a more delicate flavor than the fully mature root.

I'm hoping for good ginger growing karma in my little garden! 

p.s. Read an update on how the ginger is growing here.


Sunday, October 12, 2014

Transplanting Strawberries

The strawberry plants have sent out their runners so it's time to transplant them into a new bed I've prepared. Last year I started with 12 small plants in one of my garden beds and they are spreading. My vision is to have strawberries filling some of the empty spaces on our property; an edible landscape of divine tastiness. Instead of buying more plants, I'll use what I have. I prepared one of my empty beds and today is transplanting day. The garden has a way of telling you when it's time for a certain chore. When the strawberry runners have started to take root, it is time to transplant them. 

Fall is the ideal time to transplant things in my neck of the woods. Living in Southern California means gardening year-round. By transplanting in the fall when the soil is still warm, the plants are encouraged to grow roots before the soil cools. They put their energy into growing roots instead of leaves. Then over the cooler months of winter the plants will rest. When spring comes, the plants have already established their root systems and they are ready to grow. 

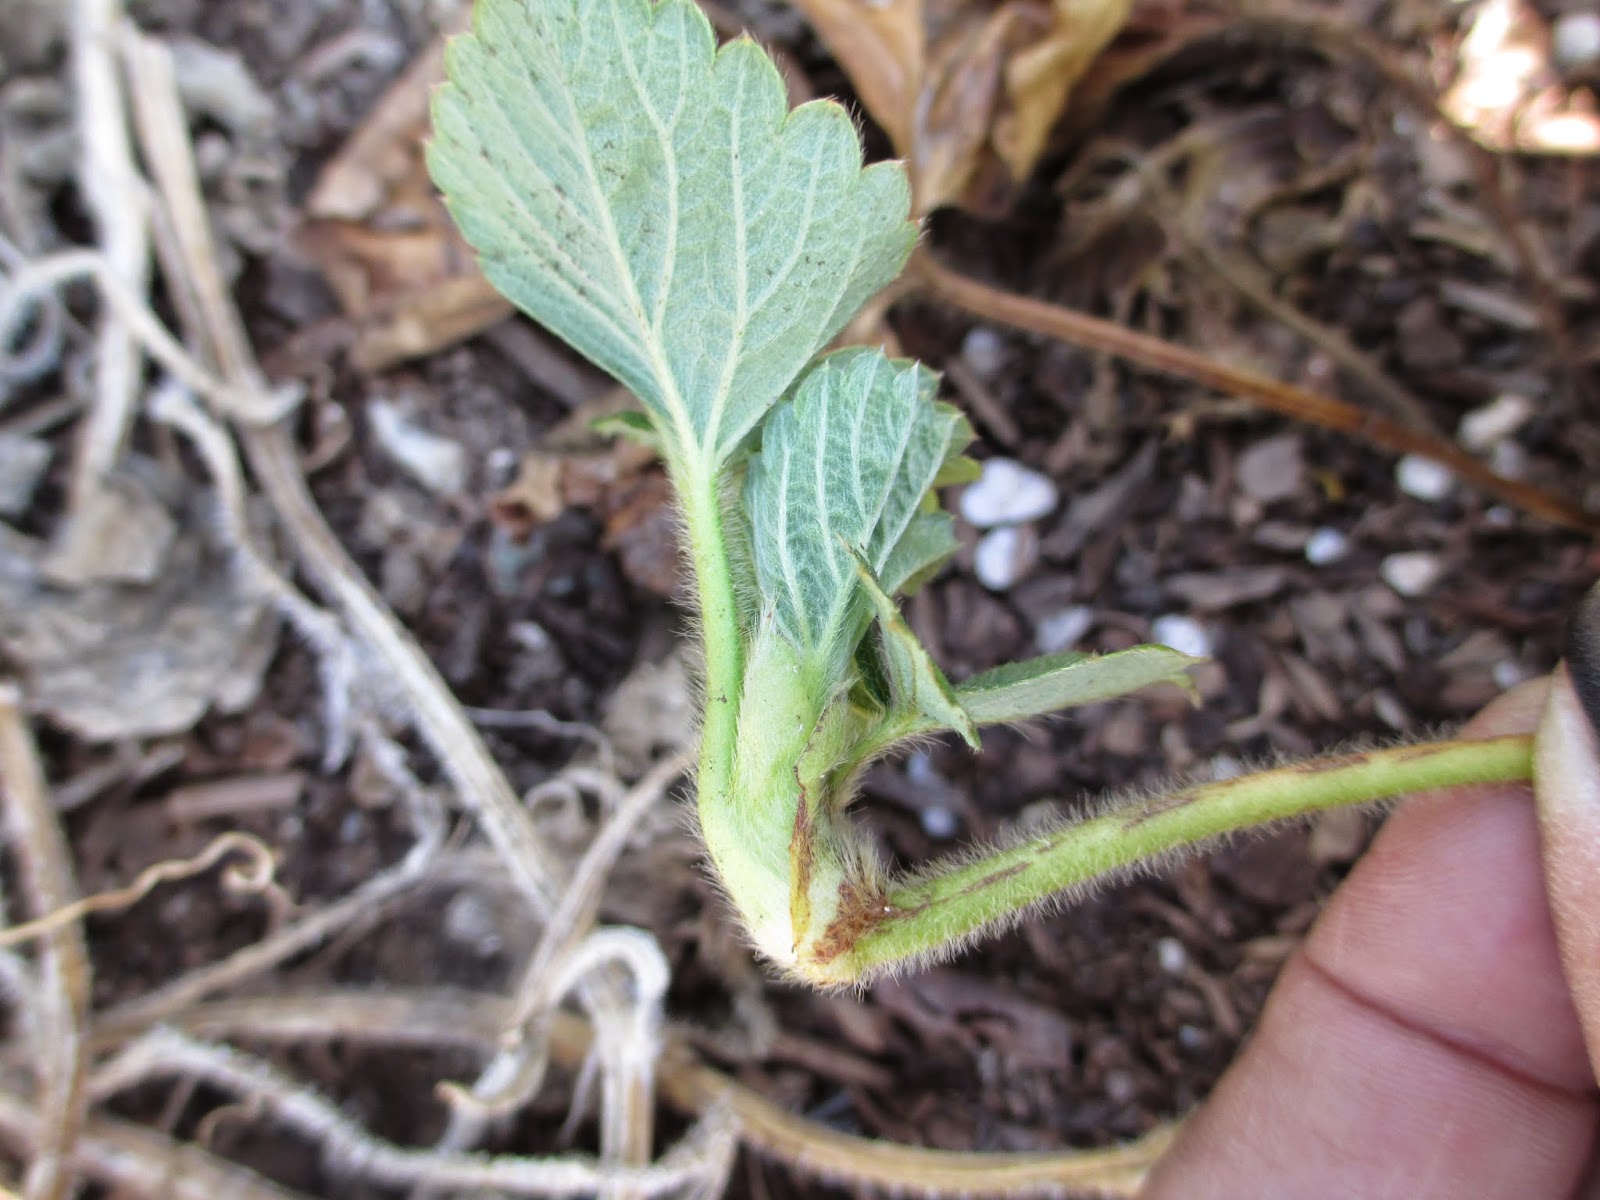
 Strawberries propagate by sending out side shoots, or runners (stolons). 
This mother plant has several runners.
At the end of the runner, a new baby plant starts to grow. Initially there are leaves but no roots, like this one.
Since it has no roots yet, this baby gets its nutrients from the "mother" plant through the runner: it's like an umbilical cord. To transplant this baby, you must transplant it together with the mother and leave the umbilical stem attached since the baby cannot sustain itself until it develops roots of its own. 

This baby has a root system. It is ready to live on its own so I cut the runner close to the crown.  
The crown is the area where the roots, stems and runners meet, shown in the center of this photo.
Before digging up the plant, I start by looking at the babies. If there are no roots, I know I must keep it attached to the mother plant. If the baby has roots, I cut the runner and dig up the baby separately. 

Here are the basics of transplanting:

The idea is to try to dig up the entire root system without disturbing the roots. To do this, try to imagine how big the root system is. The bigger the plant, the bigger the root system.  Stick your trowel straight into the soil then remove it and stick it in again, going all around the plant.

Now you are ready to carefully lift the plant and roots out of the ground. Take care to keep the soil and roots intact.


My soil is very light, so most of the soil fell away from the small root system leaving bare roots. That is not a problem as long as it is transplanted into the new soil very quickly so the plant does not dehydrate. 

Cut away any dead or dying leaves. If a leaf is dying, it is best to remove it so the plant does not put energy into sustaining that leaf. Instead it will put effort into growing roots.
Before pruning
After pruning
Dig a hole large enough to accommodate the roots without crowding them, and gently arrange the roots trying to keep the roots in their original shape. This will decrease the transplant shock. 
Cover the roots with soil taking care that the crown of the plant is even with the surface of the soil. The plant should be buried to the same depth as it was previously growing.
For those baby plants that have not yet sprouted roots, place the crown on top of the soil then slightly bury the runner and crown to encourage the baby to take root.
Again taking my cues from the plants themselves, I place the transplants 9 to 12 inches apart. This is how long the runners generally are, so that is the distance the plants seem to want to have between momma and baby.
Water the plants well, and keep them moist. Remember that the roots are small and shallow, so don't let the surface soil dry out. 

They look happy, don't they?

 And I'll be even happier next June when I'm picking those luscious berries!


Tuesday, October 7, 2014

Tea Staining Fabric for a Vintage Look

Tea staining fabric is an easy way to give fabric that warm, vintage look by tinting it brown. It can give new fabric that antique look of old linen. This technique works well with fabrics made of natural material such as cotton, linen, muslin and wool. Synthetic fabrics will not absorb the stain.
My mom used to tea stain fabrics she used in quilts to give them the aged look. She said her mother would use tea stain to camouflage small light stains on tablecloths. My mom taught me how to stain fabric, and I'm thinking of her today as I'm brewing my stain. She was a master quilter and craft queen; a teacher by profession and at home, the leader of numerous organizations, an avid reader, and my example of pure love. I will share with you my mom's method for tea staining fabric.

Our garden is suffering through the final weeks of summer. Honestly, it is just too hot to be out there so I have turned my attention toward redecorating my breakfast room. The painting is done. The new cushions have been ordered for the nook, and I am starting to sew new decorative pillows.

This fabric is my inspiration for the room.
The birds are just so colorful which is perfect because this room needs to be cheery. I am a lover of color. My house is not full of neutral colors which are so popular today. I have to have color, and these birds just make me happy. The background is ivory so when I started looking for fabric for the backs of the pillows I was hoping for green with ivory. Being fussy about such things, I looked everywhere for just the right green. It couldn't be too lime, it couldn't be too avocado. It had to be somewhere in between.

This was the closest I could find to my perfect match but it is a bit too lime.
The print is white instead of ivory and since these are pillows I will see up close everyday, the white would bother me against the ivory in the bird fabric. What can I say, I'm picky about color.
Tea staining toned down the green and brought it to a place which is more aged. The pattern is now ivory, just as I had hoped.
I wasn't sure the white part would pick up the stain because the pattern is printed onto the cloth, not woven into it. Sometimes the printed area is not penetrated by the stain, but it worked on this fabric.

Here's how to tea stain fabric.

Wash your fabric to remove the sizing which is the chemical treatment used during the manufacturing of the fabric to protect the fibers. This will allow the fabric to absorb the stain. Wash the fabric according to the washing instructions on the label. The fabric should be evenly wet before you place it in the tea stain.

Bring a large tub of water to boil on the stove. You need enough water to completely cover the fabric.

The type of tea you use will determine the shade of the tint. Black or brown tea will give you brown or cream tint. Using green tea, herbal tea, or raspberry tea will result is different shades. Hibiscus tea is wonderful to drink, and it also creates lovely pink shades when used as a fabric dye. English Breakfast tea was my tea of choice today since that's what I had in the pantry.

Add several tea bags and let them steep for several minutes. The more tea bags you use, and the longer you let them steep, the darker the stain. I used 8 tea bags in my largest pot and let it simmer on low for 8 minutes.

Remove from the heat and use tongs to remove the tea bags. If you leave the tea bags in the water, they will create dark spots on the fabric. 
Use the tongs to put the fabric into the tea. Be sure the burners are turned off so you don't catch the fabric on fire. 
Try to submerge all of the fabric which is difficult due to air trapped under the folds of fabric. Stir it often to make sure the dye soaks all of the fabric evenly. 
Check the fabric periodically and continue to let it soak until the desired color is reached.
Remember that the fabric will dry a shade lighter.

Rinse the fabric in warm water with a mild dish soap to remove the tea. This is important because the tea contains acids which can damage the fibers over time. I do this in the kitchen sink.

To set the color and prevent it from fading when washed in the future, soak the fabric in cold water with a little vinegar in it. Use one tablespoon of vinegar to one gallon of cold water.

Rinse the fabric well in cold water, then dry it in the dryer or line dry it. 

Now my fabric is a perfect match. Perfectly perfect.


Wednesday, October 1, 2014

Harvesting Basil

My kitchen is filled with the scent of fresh sweet basil. I'm harvesting my plants, freezing the leaves so we can enjoy the taste of summer during winter's cold season. We dry some of the leaves, but most of them are frozen because we like to use the fresh leaves in pesto, on pizza, in sauces and even in our lemon basil martinis. 

There is not much happening in my garden right now, and my blog has been neglected as a result. The summer garden is fading and it is still too hot in my Los Angeles area garden to begin fall planting. It is the time of year I turn to indoor projects because gardening when the temps are above 105 degrees is just not my idea of a good time. I have been busy redecorating my breakfast room. The painting is done, now I'm sewing pillows and curtains. I'll post some pictures once it is completed. 

In the next couple of weeks I will finish pulling out the summer veggies and prepare the beds for winter crops. The basil and herbs are still going strong, the one bright spot left in my garden. I decided to leave one basil plant to see how long it will continue to produce into the fall/winter. The rest I'm harvesting. This is a time consuming process. Here's the method I use to try to make it as easy as possible.

Cut the large stalks close to the ground.
Holding the stalk, I turn it upside down and shake it to remove some of the debris that collects in the leaves.
Next I cut off the seed stems.
Read tips on harvesting sweet basil seeds here
When you are finished removing the seed pods it looks like this. 
These stalks/leaves are then taken into the kitchen to be washed and dried. Because we are in a drought in California, I try my best to conserve water. I collected the rinse water in a bucket, then used it to water my rosemary bush. 

I find that it is easiest to keep the leaves on the stems when washing them. After cutting the stems off of the larger stalks, they were placed under water and swished around.
Then I rinse the leaves under the spray water. 
Then I turn the stems upside down to wash the under side of the leaves, scrubbing the leaves between my fingers when needed.
The stems/leaves are then dried on towels. At this point the smell is almost overwhelming in my kitchen.
Once the water has evaporated I remove the leaves by stripping them from top to bottom.


I put one cup of leaves into a snack sized ziplock baggie and remove the air. 
The baggies are labeled using a permanent marker, and into the freezer they go. One plant produced 6 cups of leaves. 
One cup we left to dry completely to be used as a dried herb. There are 3 more plants left to harvest and I'm considering processing them in the food processor and freezing them in ice cube trays. 

Do you have any other suggestions for harvesting basil?