

Fall is the perfect time of year to plant garlic. The bulbs will grow roots now. If planted early they will sprout before the frost, then rest during winter. If planted later, they will sprout in spring, and then next summer the garlic will be ready for harvest. It's simple, quick and easy. With little effort, I will have enough garlic to satisfy my garlic-loving family and we won't have any kitchen emergencies where the garlic is gone and the pasta is boring.
It is best to purchase heads of garlic from your local nursery instead of planting what you buy in the grocery store. Grocery store garlic may have been sprayed to keep it from sprouting. Another reason is that there are so many varieties of garlic and you will be most likely to get the cultivars that grow best in your location if you purchase them at your local nursery. Ordering online works too, just be sure to select cultivars that favor the conditions in your garden.
Garlic comes in packages like this, with planting instructions included.


Inspect the bulbs to be sure that the roots have not started to grow from the bottom,

and the bulbs have not yet sprouted green growth from the top.

The bulbs should be firm and plump indicating they are fresh. You don't want to buy bulbs that have dried out, and are shriveled and loose inside the white skins.
Each head of garlic has several garlic cloves.

When you plant the garlic, you break apart the head and separate each clove and plant them individually. Take care to keep the tough outer protective skins intact. Each separate clove will produce one head of garlic. Choose the largest cloves to plant because they will produce the biggest heads of garlic for harvest.
Choose a sunny location with well-drained soil, amended with organic matter. Garlic prefers to be on the drier side rather than in wet soil where it may rot. I'm planting mine along the edges of my raised beds. I've read that planting garlic around the edges will deter critters, and we all want to deter critters. The edges of my beds tend to dry out fastest because I use soaker hoses, so garlic grows well there.
Don't plant garlic where you have grown plants from the onion family in the past 3 years. Years ago I printed out a couple of lists of companion plants which I keep handy as a reference. Both lists indicate that garlic should not be planted near beans or peas. I usually comply with the list even though I've not really read any studies to see if science confirms the importance of it. I'm not an expert on that subject, but I avoided planting the garlic where my peas are growing. Who wants to tempt bad garden karma?
Dig the area to loosen the soil. Remove any weeds.

A little bone meal is a good idea. I sprinkle it, then mix it in with the trowel.


Plant individual cloves so the flat root side is pointing down and the tip pointing up.

Plant the cloves 4-6 inches apart, with the tops 2 inches below the surface. Rows should be spaced 10-14 inches.
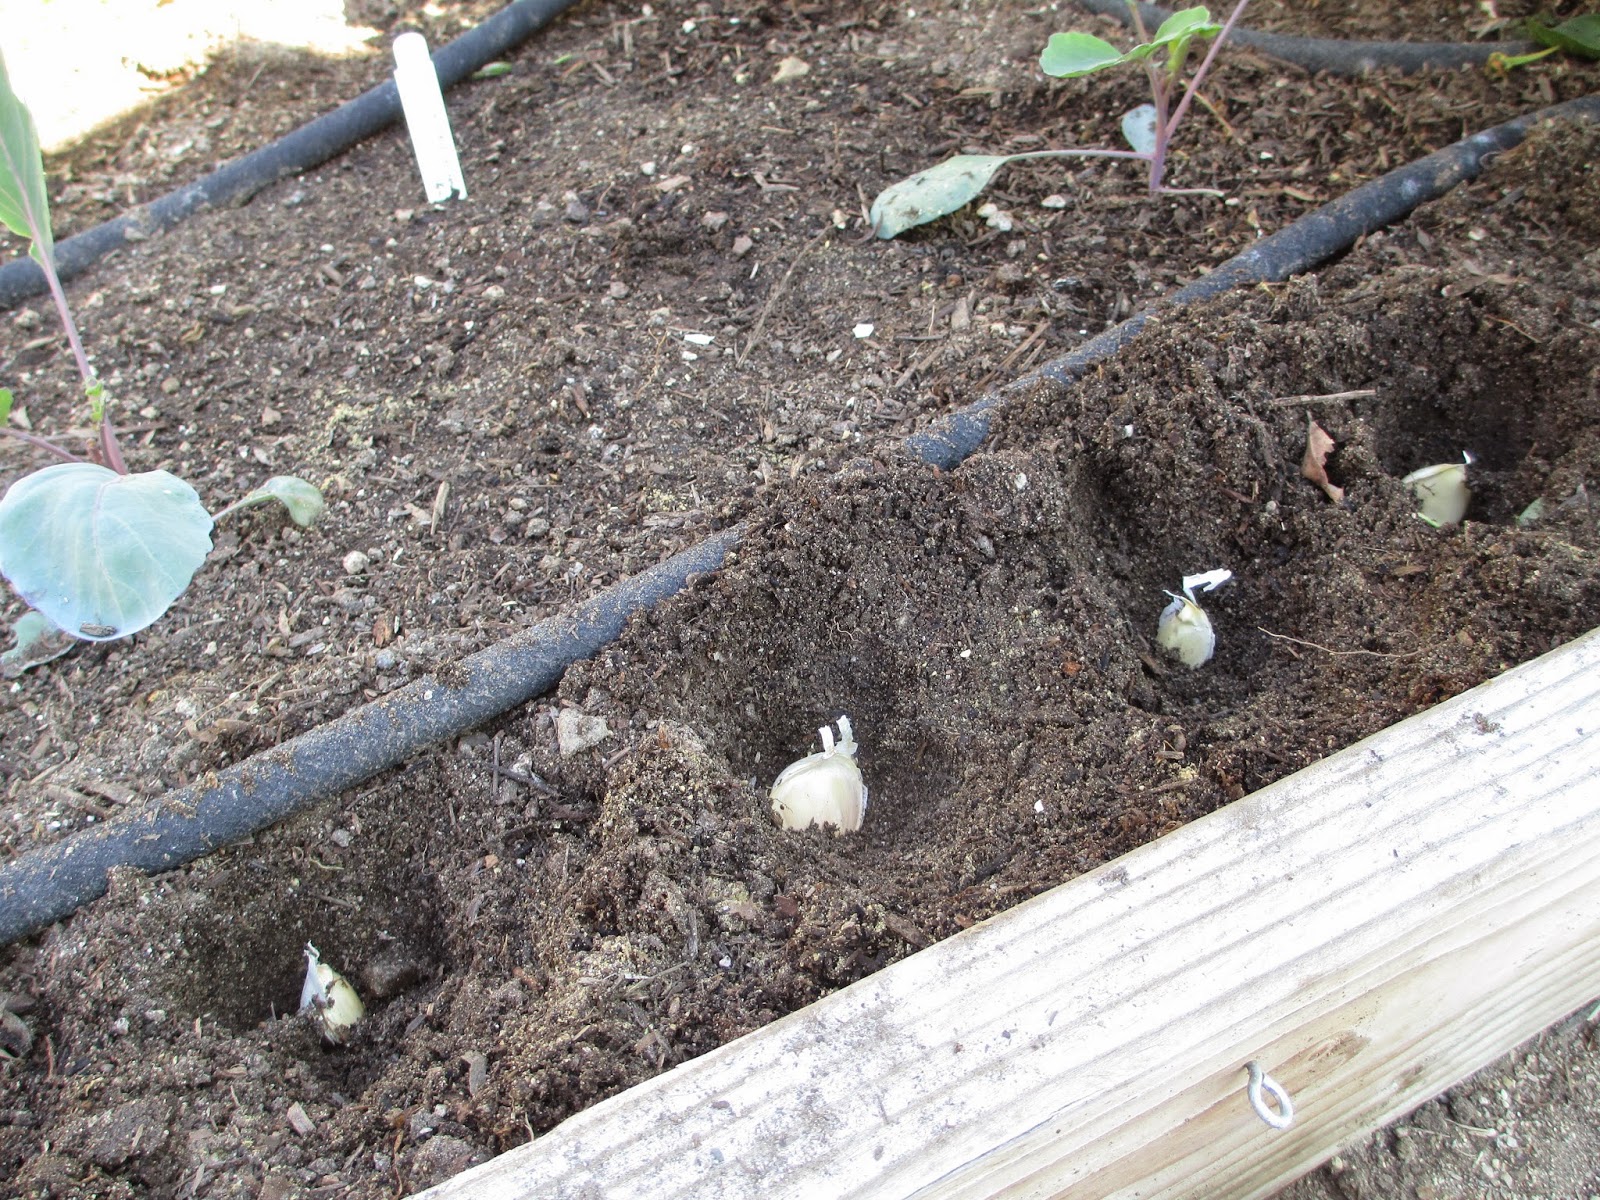
Cover them with soil.

Water them and cover them with mulch. Straw works well. Mulching is important to control the weeds as garlic does not produce well if it is competing with weeds. Thick mulch (6 inches of straw) is important in cold weather climates to protect the plants that may sprout before the freezing temperatures halt their growth. In spring, remove the mulch or most of it. Leaving some mulch will help control weeds. Here in my Zone 10 garden, thick mulch is not needed to protect from frost so I just covered mine with compost.
Next spring when the green tops start to grow, fertilize with fish emulsion or bloodmeal or pelleted chicken manure. Eventually woody flower stalks (called scapes) may grow from the largest bulbs. Remove the scapes to encourage the plant to produce larger bulbs. I have read that scapes can be used in cooking although I have not tried it.
Water garlic deeply as their roots can grow more than 12 inches down. Cut back on the watering in June or when the plants start to turn yellow. This allows the garlic bulbs to firm up before being harvested.
Start checking for mature heads of garlic in June as the green tops start to turn yellow. Harvest the garlic when the bulbs have formed individual cloves and the outer skin is tough, white and papery. Harvest the bulbs by digging them up instead of grabbing the tops and pulling them up. Pulling them up can damage the protective layers which can cause the bulb to rot.
Dry the garlic in a well-ventilated, warm, dry place for a few days then gently brush off the dirt and remove the stems and roots. Store in a dark, dry, well ventilated space. If you want to braid the garlic, harvest the plants before the tops dry out.
No comments:
Post a Comment