Sunday, September 21, 2014

Got Grubs? You Need Nematodes!

Is anything more creepy than a grub? Yuck. Luckily my favorite nursery carries beneficial nematodes (Heterohabditis bacteriophora). These are tiny organisms that are harmless to humans, animals, plants and worms but are deadly to numerous harmful insects. They are effective in killing grubs, cutworms, Japanese and cucumber beetles, many types of weevils, red fire ants, maggots, and hundreds of other soil dwelling insects. 

Last year I had puzzling holes in one of my garden beds that were about the diameter of my little finger. The trails were like tiny mole trails. Right under the surface of the soil, something was tunneling causing raised trails. Eventually I discovered that I did not have tiny moles, I had grubs. This year they are in my compost.

Grubs are not beneficial to the garden. Some types borrow through the soil and eat the plant roots. Some grubs are the larvae of fruit eating beetles like the green June beetle (aka figeater) or the bumble flower beetle. Because the adult insects eat fruit, I prefer to control them. Some people feel it is not necessary to control the grubs in a compost pile as they do aid in breaking down the organic matter. I can't stand them. I want them gone, so beneficial nematodes are my weapon of choice.

At risk of giving my readers the creeps, I will now describe the life cycle of the warrior nematodes. This is your warning, it gets ugly so skip this paragraph if you want. The juvenile nematodes seek out their pray, in this case the victim is a grub. When they find the grub, the nematodes enter their prey though natural openings or by borrowing into it. I warned you. Once inside, they release certain bacteria which also then live inside the grub. The bacteria are only able to survive inside the grub (or other victim) and as the bacteria multiply, the grub dies. This takes 24-48 hours. The nematodes then ingest the bacteria and the grub corpse. Each nematode matures into a hermaphroditic female and lays eggs inside the infected victim. More creepy news...only some of the eggs are laid outside of the female nematode. Some remain inside the female and as these eggs hatch and mature, the juvenile nematodes then eat their mother! The nematodes mature and mate inside the grub/host/victim, then emerge from the dead grub 12-14 days after infection. They will travel through the soil looking for another tasty grub. How is that for gross? Thanks for reading, now go take some antacid.

So, the nematodes are living creatures that come in a package like this.
Because they are alive, they are kept refrigerated and my friends at Sego Nursery (12-126 Burbank Blvd, No. Hollywood, CA 91607) advised me to go straight home so the creatures will not die in the hot car. If you live in the area and have not gone to Sego Nursery, you simply must go. It is family owed and has every plant you can imagine. Well, almost. The family is friendly and incredibly knowledgeable, my favorite nursery for sure. But I digress, back to nematodes... 

Keep them refrigerated until you are ready to release them. It is best to release them on a cool day, or in the evening as they do best in cool weather. They come in a damp sponge in a sealed packet.
Remove the sponge and place it in a bucket of lukewarm water (at least one quart of water). Squeeze the sponge repeatedly to release the nematodes into the water. The package says to keep squeezing for a couple of minutes. Then you can put the sponge in another bucketful of water and repeat the process to create two buckets of solution. Discard the sponge.
This creates enough solution to treat  2000 square feet of surface area. Once the nematodes are released into the water, they must be used within one hour. You can then use a watering can, garden pump sprayer or hose-end sprayer to disperse the warriors. Add water to dilute the solution to make enough to cover your area. I poured the solution into my garden sprayer. The pump sprayer allows an even distribution. 
Lightly water the area first, then apply the solution, then water lightly again. The nematodes will do best if the soil is moist and well-aerated. 
My friends at Sego Nursery reminded me to leave the dead grubs in the soil. The dead insects are the breeding ground for the nematodes so it is best to leave them in the soil. That way, the nematodes will multiply and move into the soil, and keep those nasty grubs away. Thanks, nematodes!


Friday, September 19, 2014

Basil Hummus


What to do with all that basil? The possibilities are endless. Today I made basil hummus and it was delicious so I'll share the recipe in case you are looking for something to make with your bountiful basil. 

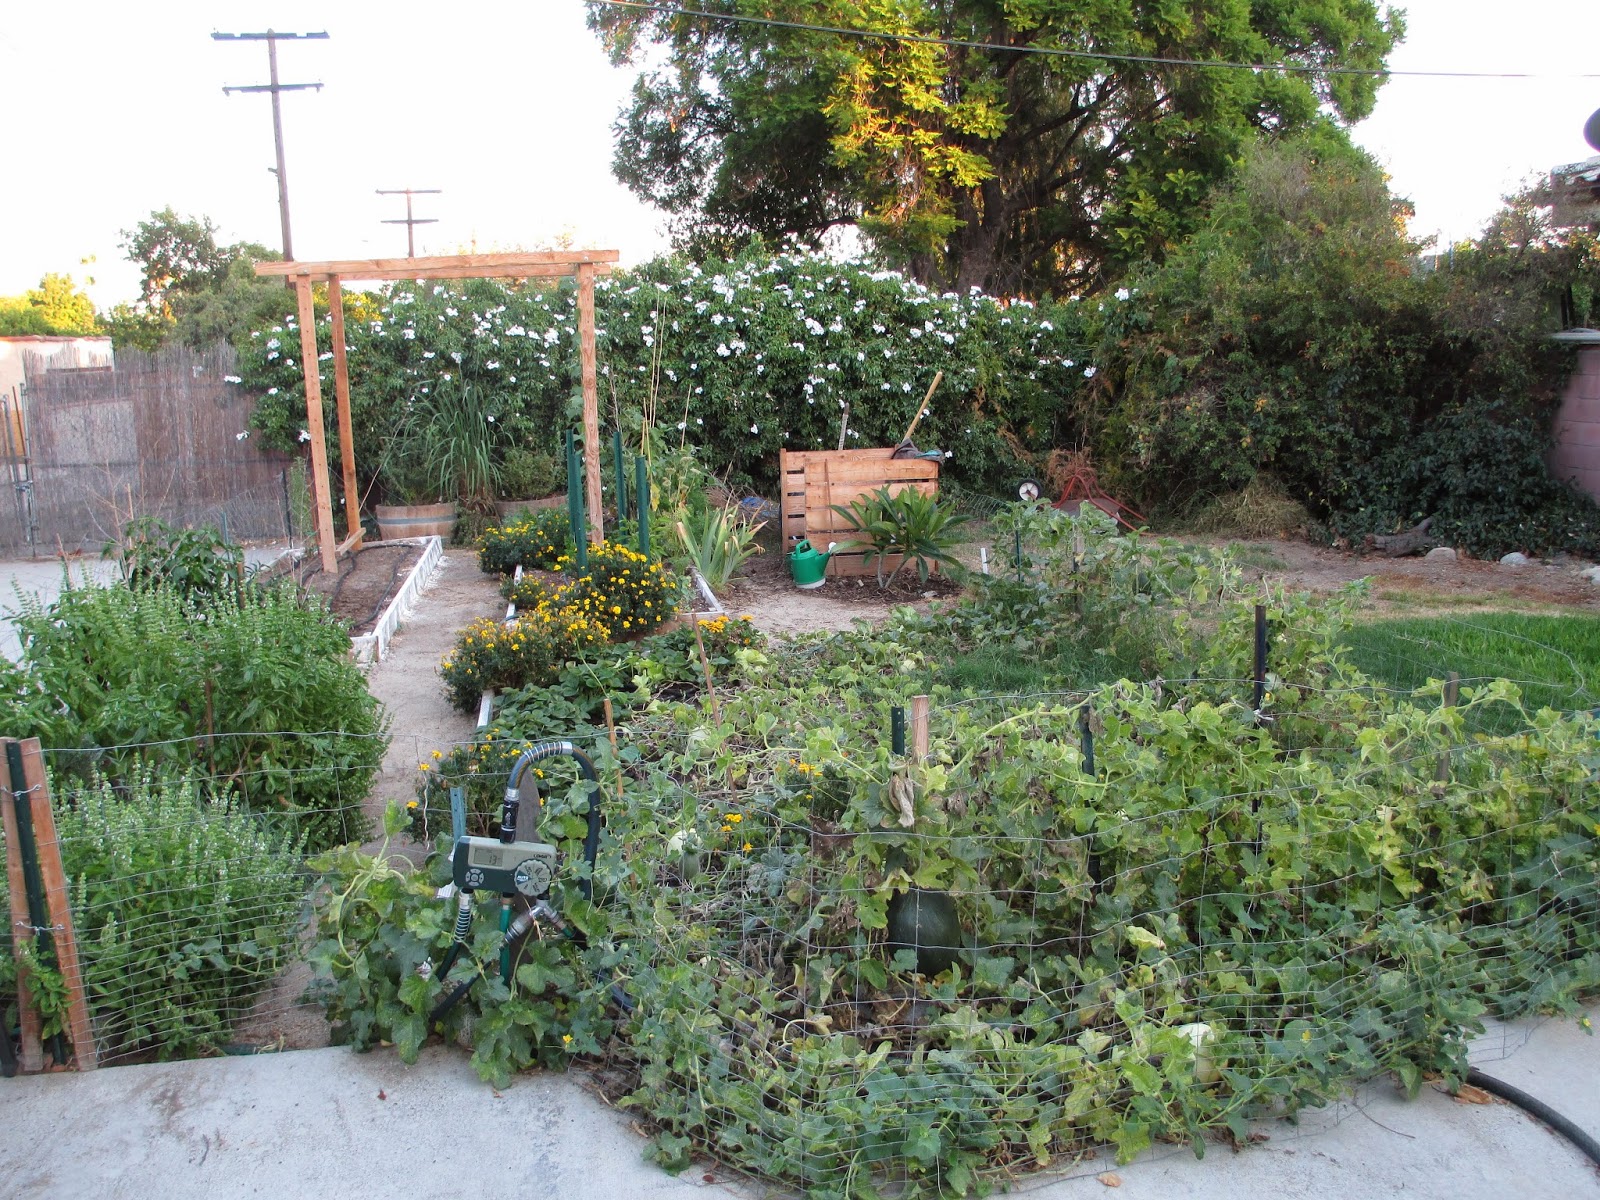
Thank goodness for basil. If not for it and the melons, my garden would look very sad. We're at the point in the summer when the heat has taken its toll and most of the veggies have been harvested. 

Our growing season in Southern California is a long one, as in all year long. We generally plant summer gardens starting in March/April, then in the fall we plant our winter gardens. September and October are typically really hot and dry. My summer garden is tired and so am I. The heat zaps my energy, so gardening this time of year is not appealing. 

I long for the cooler days of fall. I am inspired by seed catalogs and thoughts of fall planting but I can't seem to find the gumption to get out there and work. The list of chores to be done in preparation for the winter garden is long, but it is about a month too early to really get started. I have one bed cleared and the soil amended. There are spaces in the other beds left vacant by harvesting.
The melons are still producing their incredible bounty despite looking a bit fried.
So the bed with herbs is the one pretty spot, thanks to the basil.
I have harvested several plants. The leaves were rinsed, then allowed to dry before they were placed in snack-sized ziplock baggies and frozen. My stash of frozen basil leaves will allow us to enjoy fresh basil hummus this winter. Here's the recipe.

Basil Hummus

3 cloves garlic, minced
2 C fresh basil leaves, packed
1 1/2 C dried garbanzo beans, soaked in water over night, or 2 cans garbanzo beans
1/4 C pine nuts
1/4 C olive oil
1/4 C fresh lemon juice
1 1/2 tsp salt
1 tsp tomato paste
A few dashes of your favorite hot sauce. My favorite is Cholula. 
1/4 C water (or less)

Place the garlic and basil in a food processor and pulse for a few seconds until finely chopped.
Drain and rinse the garbanzo beans and add to the food processor along with the pine nuts, olive oil, lemon juice, salt, tomato paste and hot sauce. Pulse for a few seconds at a time until mixed. Add water a little bit at a time until the desired consistency is reached. 

Serve in a bowl with a little olive oil drizzled on top and garnish with some pine nuts and a sprig of basil. 

Enjoy!

Sunday, September 7, 2014

Night Blooming Jasmine - Sweet Scent of Summer

Some scents are forever etched in our memory, attached to emotions and events. I have a very tender place in my heart reserved for night blooming jasmine. My children were both born in summer's heat. With windows open, hoping for a cool breeze, the jasmine was my company during those quiet midnight feedings. One sniff of the aroma and my heart warms thinking of newborn cuddles. 

When we moved to our second home, the night blooming jasmine came with us. I planted it under the windows which were most likely to be open during the evening. I planted it near our front door too, where it can welcome friends with its intoxicating sweet summer scent. The flowers are tiny and are basically unnoticed during the day as they are hardly seen. They show themselves when the sky darkens, filling the air with aroma which may be too strong for some. 

One small sprig can fill several rooms with scent, so I usually just bring in one or two flowers and float them in a shot glass. Because they are not pretty, the glass is tucked behind something else, my little secret air freshener.

Night blooming jasmine (Cestrum nocturnum) is easy to grow in my Los Angeles area garden. It grows in zones 8-11 as a woody loosely-formed shrub 4-13 ft tall. 
Here it is, out of control. It's the tall one in the middle, covering the window. Fall pruning is around the corner.
The plant tends to be a bit shaggy or unruly, not one that is in my garden because it looks nice. It is here mostly for its fragrance, and I use it in the backs of the beds to form a green backdrop against the wall. The one pictured above is usually kept trimmed below the window box, but it is in full bloom now, so it will be pruned after the blooms finish.

It needs well-drained soil and at least 5-6 hours of sun or partial sun per day. Mine gets 1-2 hours of intense sun, and 3-4 hours of dappled sunlight and it grows like crazy. Our summers are hot and dry and I have noticed this plant does not do well in full sun here, it wilts and struggles.

The leaves are a nice semi glossy bright green, about 4-6 inches long.
Here are some flower buds forming.
They're not much to look at, but the smell is delectable.
When the flowers fade, berries are formed.
As they mature, the berries become pretty white waxy decorations which adorn the plant throughout the winter. Unfortunately, I have no pictures of the white berries. 

The base of the plant is often woody and bare, so I try to keep that in mind when planting it. 

It looks best with something planted in front of it.
It's the tall one on the left.
It also is nice tucked behind Rebecca.
Rebecca at the Well.
The plants tend to be lanky, so they respond well to frequent pinching to promote a more bushy habit. Night blooming jasmine also tolerates severe pruning. I often prune mine to 2-3 ft tall when I prune my roses in January. They can be propagated by cuttings. Place the cut end in water until roots are 1 inch long, then place in the soil. It is common in my garden to have volunteers pop up. They are easily transplanted when the plants reach about 5 inches tall. 

My windows will be open again tonight, all the better to be entranced by sweet scents of summer.