Showing posts with label ginger. Show all posts

Tuesday, December 2, 2014

Updates on Ginger and More

The ginger is growing! This is my first experience growing ginger. It is one of my favorite spices so I decided to plant the piece that was sprouting in my pantry. Here's a link to my post about growing ginger.  I planted four pieces of ginger in a clump.

The first sprout came up quickly, only 2 weeks after planting. 
Planted on Oct. 16, this sprout appeared on Oct 31.
The others have been much slower, in fact I was getting worried the others wouldn't grow. I have been anxiously awaiting the arrival of the fourth sprout and it finally came last week.
It's interesting that the four plants came up at different times so they are all different sizes. 
The third to arrive.
The youngest one was damaged as I pulled weeds and cultivated. I broke off the tip. OUCH. 
Being so new and tender, I guess I just bumped it with the trowel and it broke. Hopefully it will still grow. 

In other news:

I have been pleased with the way my new cabbage covers have held up to the wind and rain. 

Not one of them has suffered any damage so my design is handling what mother nature has offered so far. The plants are growing beautifully without any cabbage butterflies to bother them. Read how I made them here.

The peas are about 2 feet high and the trellis is holding up really well. 

I designed and built it last spring. It is built to be taken apart for storage but it has remained there, supporting beans and tomatoes in the summer, and now peas for our winter crop. The one thing I would change about the design is I would not bother with the horizontal strings. The crops don't really rely on them and the vertical strings seem sufficient. Here's the link if you want to see how mine is built.

The tangelo tree is loaded and the fruit is starting to turn orange. 
Here's what I see when looking up from my favorite patio chair.

I'm finally tackling the neglected corner of my yard which was a tangled mess and eye sore.
For years this corner was left completely alone, a doggy toy graveyard and thorny combination of duranta and rose.
Duranta erecta
Duranta berries
Of course some of my nemesis, the dreaded asparagus fern, was growing there too along with some jasmine. 

I am getting inspired to make something out of this corner. Right now I have blueberries on the brain. They are my favorite fruit so I may just put them in barrels along the back fence.
For now, the clean up continues but the planning has just begun.
And as always, sweet Bessie May is by my side.


Saturday, November 1, 2014

Ginger Green Beans with Cashews

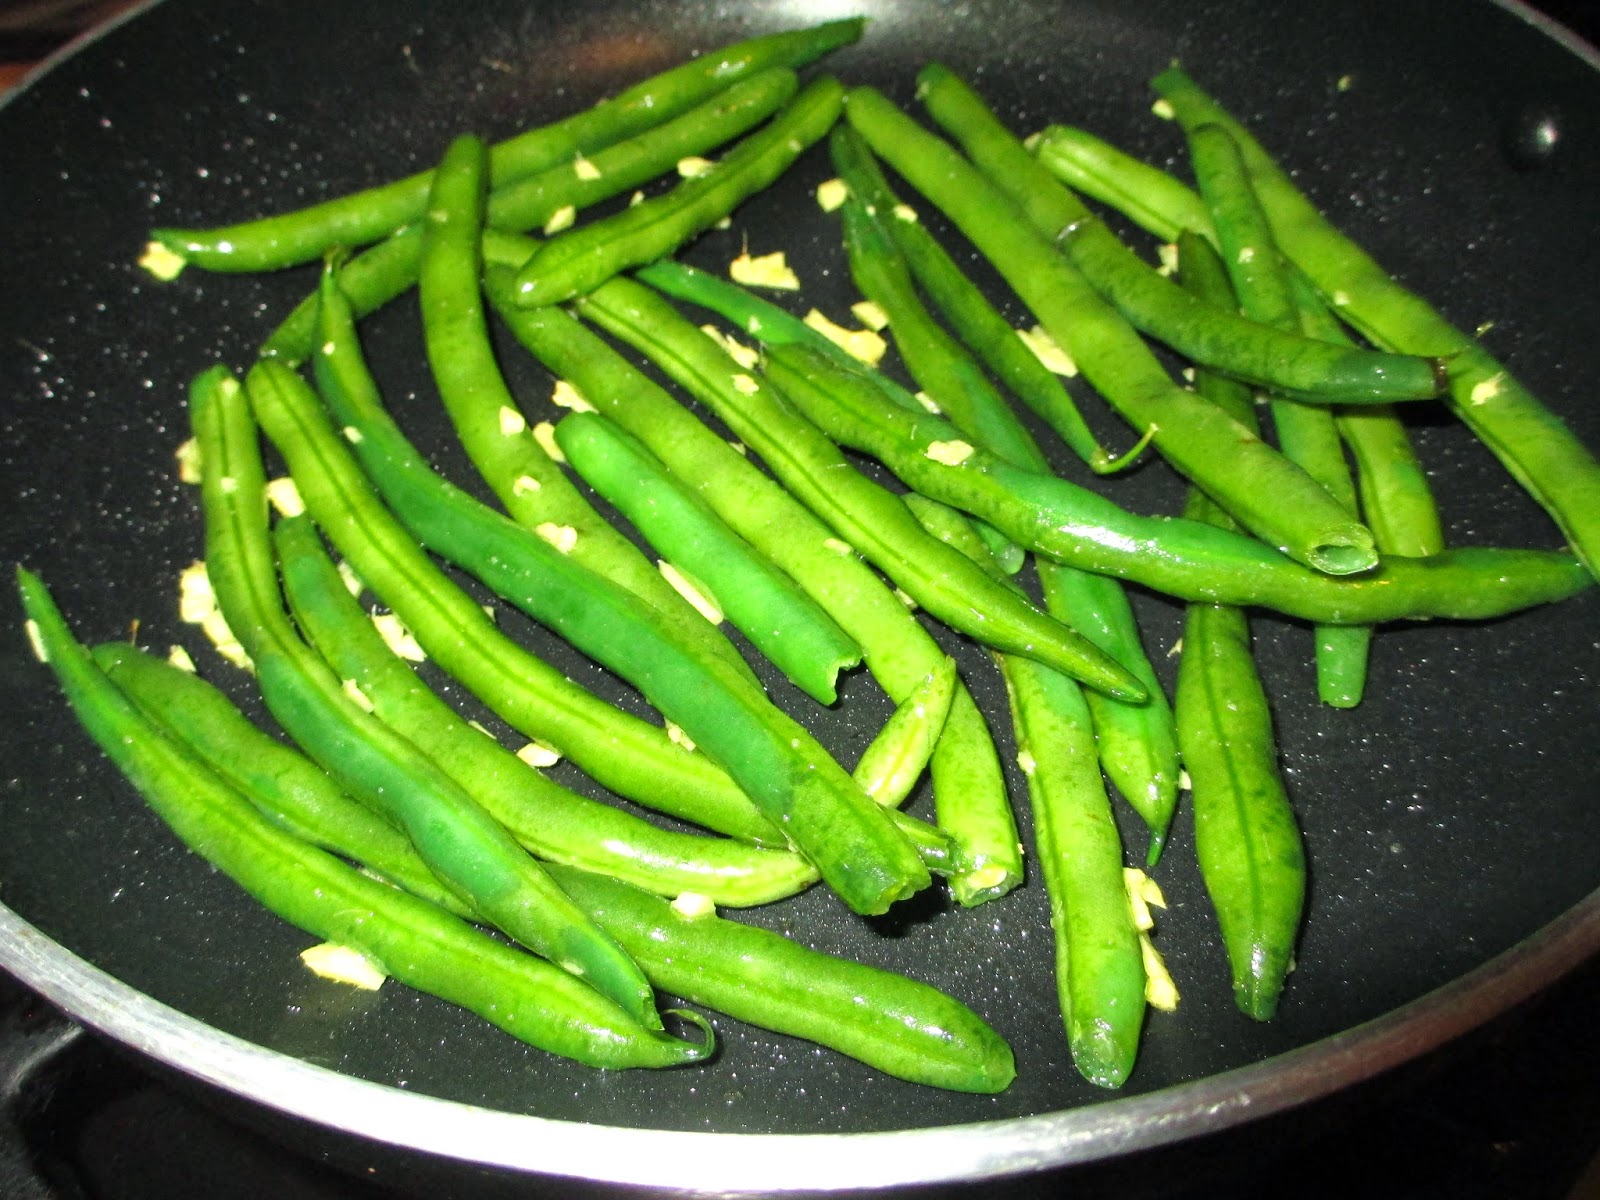
Sometimes the garden gives you delicious gifts such as these green beans that volunteered to sprout in my garden. I love it when that happens! My green beans were planted in succession. The harvest was wonderful but I had to pull the plants due to spider mites. I decided not to plant more then the volunteers appeared, and these plants faired much better. It seems the spider mites were bad during the early summer and not as bad in August/Sept. That's good to know for next year. I will continue to sow green beans until August, or maybe the volunteers will be back and save me the effort.

These vegan stir fry green beans are quick and easy, with added protein from cashew butter and cashews. You could easily substitute peanut butter or another type of nut. I enjoy the cashews because their sweetness combines well with ginger. 

I love ginger. It finds its way into my food because it is delicious but also because of its anti inflammatory and anti nausea benefits. I recently planted ginger in my garden for the first time. Read more about growing ginger and its health benefits here. 

I apologize that there are no exact measurements with this recipe, I just sort of estimate how much to add. It's the "add a little of this, and a little of that" approach to cooking that I learned from my husband who is a gourmet cook. He taught me to cook. I'm a lucky girl.

1 tablespoon Peanut Oil, or substitute another type of oil such as olive.
Green Beans a couple of handfuls, rinsed, dried then cut if desired.
1/2 to 1 tablespoon Ginger, peeled and minced. The more, the spicier.
2-3 tablespoons Cashew Butter 
1 tablespoon Soy Sauce
1/3 Cashews, coarsely chopped
1/4 cup Cilantro, coarsely chopped, plus one sprig for garnish.
1 tablespoon Sesame Seeds

Heat the oil over medium heat. 
Add the ginger and stir for 3-4 minutes taking care not to burn it. 
Add the green beans and stir another 3-4 minutes until the beans are slightly cooked. I like mine to be al dente.
Push the green beans to the edge of the pan and add the cashew butter and soy sauce to the center of the pan.
Stir the soy sauce into the cashew butter then mix it with the green beans to coat them.
My apologies for the poor quality of these photos. I have yet to develop the ability to take nice pictures without burning the food.
Add the cashews and stir fry another 2 minutes to heat the nuts.
Remove from the heat and place in serving dish.
Sprinkle with sesame seeds and cilantro, then garnish with a sprig of cilantro.
Now let's have a toast to the volunteers. "Cheers!"


Thursday, October 16, 2014

Growing Ginger - My First Time

The ginger in my pantry has started to sprout, so I guess it's finally time to plant some ginger in the garden. I mean, if this rhizome is this determined to grow, it deserves to be planted. 
Ginger is one of my favorite flavors. I love it in Thai vegetable soup, with stir fry vegetables, in carrot juice, and my guilty pleasure is my husband's homemade ginger ice cream. Ginger is something we always have in the pantry since it keeps well when stored in a dry place. 

The health benefits of ginger have been well-studied and include soothing gastrointestinal distress (nausea and gas), boosting immunity, relieving motion sickness and morning sickness, reducing inflammation and fighting cancer. Being a person who lives with chronic joint and muscle pain, I feel that controlling the inflammation in my system helps me manage my pain. Anti-inflammatory medications upset my sensitive stomach, so I choose the natural route to wellness. I prefer delicious ginger over a pill any day.

Ginger tea is my favorite go-to remedy for an upset stomach. Simply peel and slice some ginger and steep it in hot water for a few minutes, add a squeeze of fresh lemon juice if you want. There you have it, stomach relief the natural way.

This is my first time planting ginger in the garden, and although early spring is the ideal time to plant it, my nurseryman said it's fine to plant it now in my Los Angeles area garden. I figured it's worth a try since my rhizome is already sprouting, so I did some research and this is what I have learned about growing ginger. 

It grows in tropical zones (USDA Hardiness Zones 7 and higher). In cooler climates it can be grown indoors. You can purchase ginger root in the grocery store. Technically it is not a ginger root that we eat, but rather a rhizome. People refer to it as ginger root, and I'll use both terms. Look for plump roots with multiple "fingers". If there are green tips at the end of the fingers, that is good because those are the growth buds. 
To plant the root, choose a sheltered area. Dappled sunlight is ideal, or plant in partial shade. The plants are sensitive to frost and wind so I chose an area next to a covered brick patio where it will be tucked behind a rose bush and underneath our tangelo tree. 
Ginger was planted where you can see the blue tape covering the hose end toward the left.  My dog approves, Sweet Bessie May.
This is the bed where I recently transplanted some strawberries. Read about transplanting strawberries here.

Ginger prefers rich, light and well-drained soil. It prefers to be evenly moist, and likes humidity. This bed was basically sand, so I added plenty of organic compost. The soil ended up being one part sand and one part compost. This organic compost had chicken manure added so hopefully it will be rich enough. I will continue to mulch the area with homemade compost as needed.

Break apart the ginger into 1-2 inch pieces, each with growth buds. 
After you break it apart, leave the pieces exposed to the air for at least one day. This allows the cut ends to harden so they won't rot.

Planting depth is something that I've found varies by author. Some say to plant no deeper than one inch, some say to plant the rhizomes 3-5 inches deep. I decided to plant mine 2 inches deep.  I spaced the pieces 4-5 inches apart in a clump.
The rhizomes will develop and spread out to create a clump. Apparently they do not mind being a bit crowded so I decided to grow one clump instead of spreading the pieces out more. Being my first experience, I'm looking at this as a bit of an experiment. Maybe I will regret planting them so close together. I've also read that the rhizomes may even push toward the surface of the soil and become exposed which is said to be no problem. 

The foliage grows to 4 ft high and will die back in all zones except zone 10. Since I live in zone 10, I'm hoping for green leaves all year, but we will just have to wait to see.

It takes several months for the roots to grow enough to be harvested. It can be harvested all at once in late summer/early fall once the leaves have turned brown. Simply dig up the clump, remove the foliage, rinse then dry the rhizomes. As you harvest the clump, you can simply break apart some of the fingers and replant them to grow your next crop.

If you are like me, waiting nearly a year to harvest the mature roots will be difficult. The young rhizomes can also be harvested before then if you gently remove some smaller outer pieces without disturbing the plant. These younger parts are less potent, with a more delicate flavor than the fully mature root.

I'm hoping for good ginger growing karma in my little garden! 

p.s. Read an update on how the ginger is growing here.