Showing posts with label fences and gates. Show all posts

Sunday, September 13, 2015

Using an Electric Fence to Deter Opossums aka "This Restaurant is Closed."

This is not okay. 
Somebody has been visiting in the night and digging throughout my garden, no doubt enjoying the plentiful supply of juicy grubs. This critter has left a tell-tail sign...and I do mean tail.  
Across the pathways there are drag marks, perhaps little trails made by tails.
What else could it be? A raccoon with a ball and chain? No, it is an opossum. 
The drag marks are about the size of my finger. Yep. An opossum has been here dining on grubs. Little feet walking here and there. 
Come back again tonight, I dare you!
My electric fence awaits!! One little touch of the wire and you will know to go somewhere else. You are not welcome here.

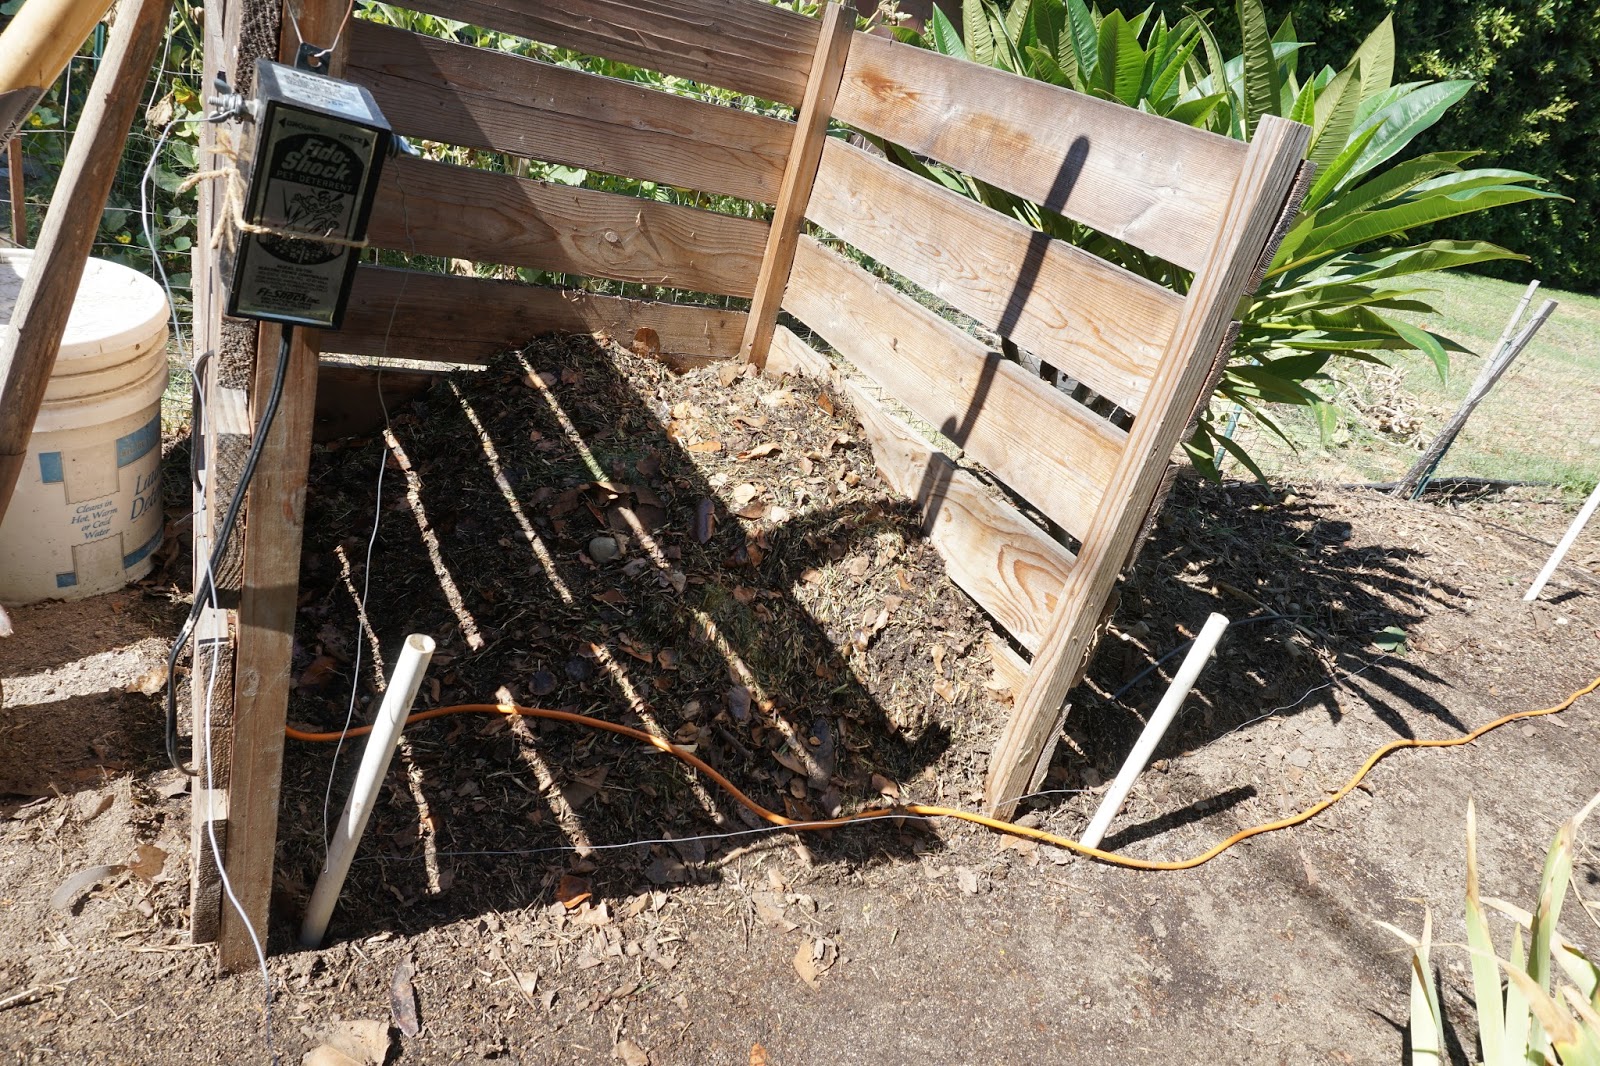
The design is simple. The unit plugs into an extension cord. From the left side, the ground wire goes to a rebar stake pounded into moist ground. 
From the right side comes the fence wire which will be "hot" when the unit is plugged into the extension cord. In order for the critter to be zapped, it must be in contact with both the surface of the ground and the hot wire. For this reason, I placed the wire close to the ground so that the critter will bump into it while walking along. 

I hung the electric fence unit from my compost bin since the critter has come there the past two nights. The wire goes from the unit down to the plastic pvc pipe and across the front of the compost bin, then around the beds and across the pathways throughout the garden. (My garden is fenced so no dogs or children or unsuspecting people will get zapped. To avoid zapping birds, I only have it plugged in at night. I taped signs at the entrances to warn people too. Once the weather cools down I'll use nematodes to control the grubs, less temptation for the critters.)
The wire passes through holes drilled into the plastic pipe.
Care must be taken so that the wire does not touch anything except the plastic, or it will not work.
I am pretty sure the pest is coming into the garden under this gate. 
Well, a little surprise awaits. 
The dining room will be lit tonight but the restaurant is closed.
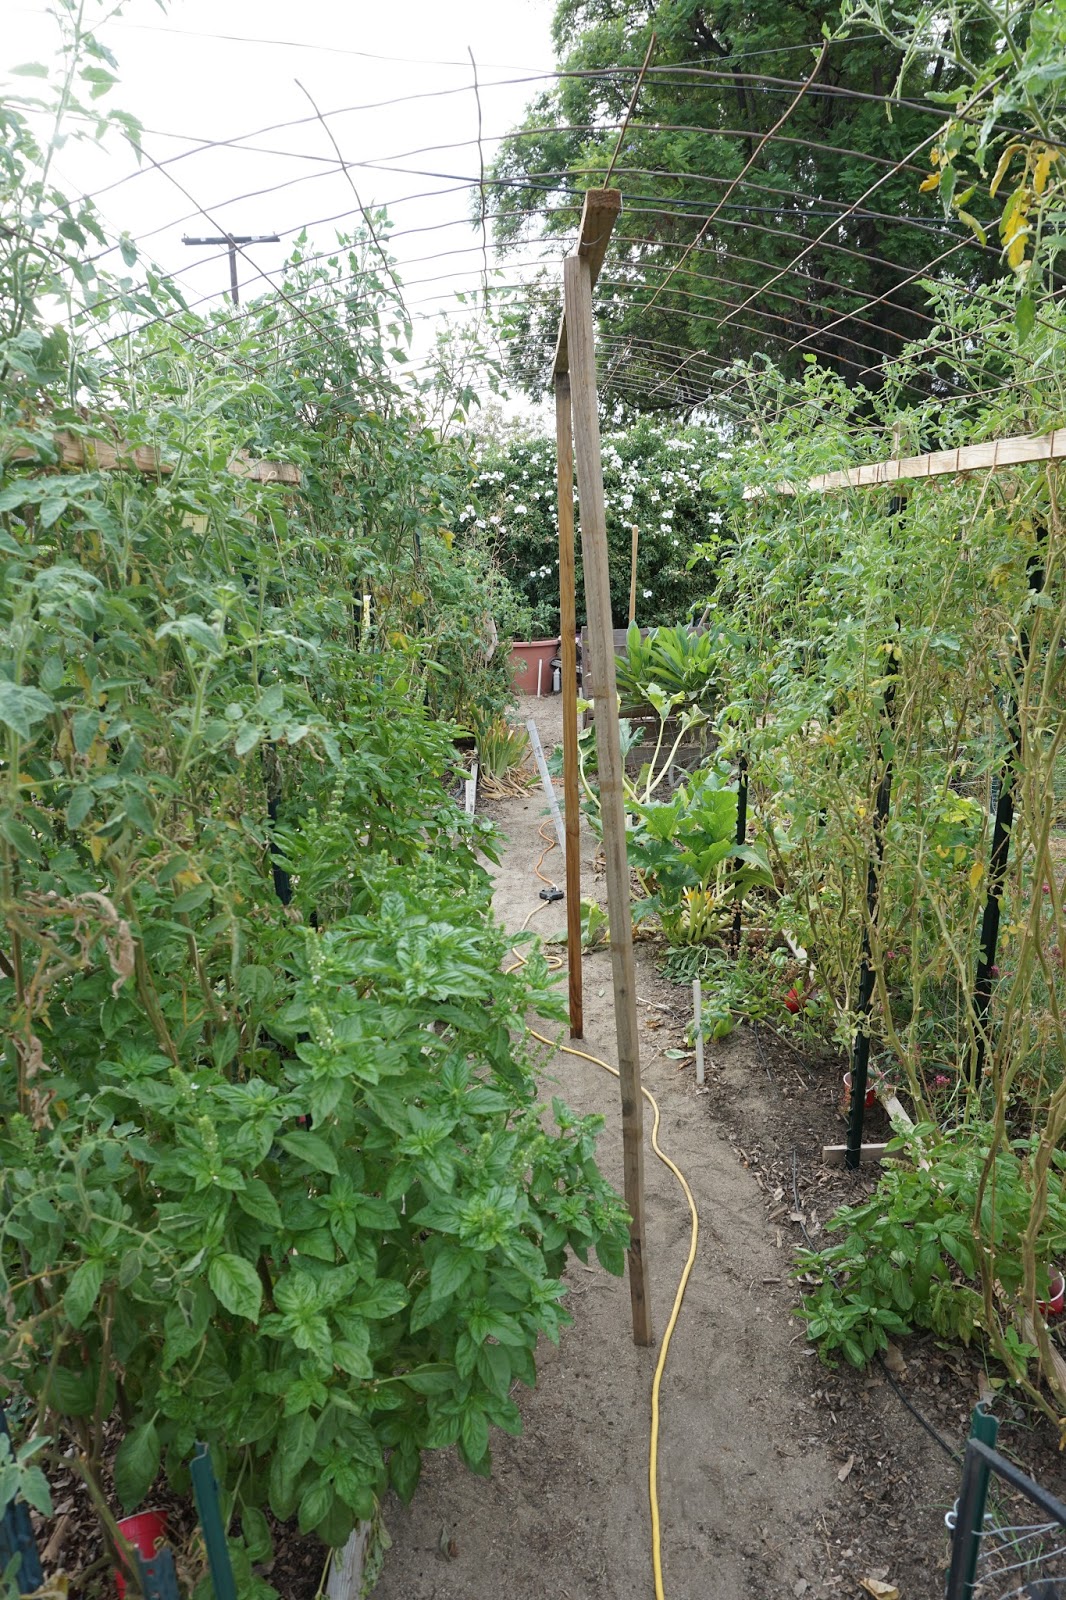
We reserve the right to refuse service to opossums.


Saturday, April 25, 2015

Simple Garden Gate


This little garden gate came together easily. It's made of one panel of light-weight fencing I bought at Home Depot for $13. 
The panels are designed to connect together to make a fence and they have little hooks on one side that I used to make the hinges. 
I used two 4 ft garden stakes, two eye bolts with nuts and washers. 
The garden stakes already have holes, but I needed to drill the second hole because the hooks did not line up with the pre-drilled holes.
Bottom hole I drilled.
Attach the eye bolts to the stakes.

Pound the stakes into the ground and the gate hooks easily slip into the eye hooks making simple hinges. To keep the gate closed, I attached a zip tie to the gate which slips over the second pole.

Because the fence panel is light-weight and small, it seems to work well. This panel is about 32 inches high and 23 inches wide.  I ended up adding a wooden dowel across the bottom because the gap was too big to keep the dogs out. You can see it going horizontally across the bottom. It is spray painted black and held on by wire. 
My fences are made of rabbit fencing, and they are designed to be easily removed to allow access to the garden beds from all sides. You can read about how I made them here. When I put up the fence, I made several small gates out of the rabbit fencing and they have worked very well, but they are a bit of a hassle to close and they are starting to lose their shape. Here is the gate today before it was replaced.
Before
After
This fence is not sturdy enough to keep out a determined dog, but it is enough to keep my sweet Bessie May out of the garden. She is a well-behaved dog and this little gate will keep her out.
Bless her heart, she waits outside the gate until she is invited in. I didn't train her to do that, she is just intuitive that way. She walks on the paths, and only eats things that are offered by me. Oh, how she loves her carrots, peas and strawberries!

One little gate finished, two to go.


Wednesday, May 28, 2014

Beautify an Ugly Fence with Bower Vine

Yes, I prefer pretty pink flowers to chain link fence any day.

My fence needed help. Actually it needed to be replaced, but buying a couple of bower vines was much cheaper than a new fence. Now no one knows that we have an ugly fence, it's our little secret.
The bower vine and jacaranda look beautiful together. Both are in full bloom right now and the sight is a major distraction from the work that should be done.

Who can blame me for gazing at the purple and pink flowers instead of pulling weeds?

Bower vine is one of my favorite vines. In my garden, it looks lovely all year. Even when it's not in bloom the foliage is pretty; green, shiny, vigorous yet delicate, and disease resistant.

This is a vine which will cover a fence nicely with a little training, but it doesn't really get out of control like honeysuckle. 

For such a vigorous plant, it is not very messy. It's a no-fuss kind of plant. I never do anything to mine; basically no pruning, no pest control, no fertilizer. It just performs beautifully year after year. It is getting a bit big so I will probably have to prune it soon. It's been pruned one other time many years ago.

And when the light catches the flowers, they seem to glow.
As I was taking these pictures I was reminded of the day many years ago when my daughter in her little 5 year old voice said that our house reminded her of Madeline's. Madeline was one of my daughter's favorite children's book characters.

"In an old house in Paris that was cover with vines, 
lived twelve little girls in two straight lines
They left the house, at half past nine...
The smallest one was Madeline."
-John Bemelmans

Oh, hearing that from my little one warmed my heart, and remembering it today made me smile.

Sunday, May 25, 2014

Fence and Simple Gates - Removes Easily for Gardening - Andie's Way

This fence removes easily to allow access to your garden beds. 
My 75 ft fence with 5 gates cost less than $100. It is made of 28 inch rabbit fencing, 3 ft metal garden posts, 1 x 2 inch furring strips, and simple eye hook gate latches.
Simple double gate
When designing my garden I knew a fence would be necessary because of my friend, Bessie May.

Now Bessie is not a dog who jumps fences. She is well-mannered so this fence keeps her out of my garden. It's not sturdy enough to keep out a determined dog. Luckily for me it also works for my father's smaller Brittany spaniel. 

When designing my garden I realized I wanted several gates for easy access. I also wanted to be able to remove the fence along the pavement because I did not leave room for a path, so the fence runs right along the edge of the bed. 

This is how to make it work. 

First measure the perimeter of the garden to know how much fencing to buy. 

Decide how many gates you want and where they will be located. This determines how many furring strips and latches are needed. At each gate there is one 28 inch furring strip, 2 eye hook gate latches (one higher and one lower on the post), 2 eye screws with 2 matching nuts. You will also need some twist ties or wire to secure the fencing on the metal posts where there is no gate, as well as wire cutters and pliers. 

The eye screw is placed through a hole in the post and it is held on by a nut.
The eye screw can accommodate two latches so it works great for a double gate where both sides open.
Next determine how many metal posts are needed. Mine are spaced approximately every 6 ft. There is one post at every gate. Buy the typical garden stakes with the "T" stabilizing bar at the bottom, and holes for the eye screws. Mine are 36 inch stakes.

Probably the hardest part of this project was unrolling the wire fencing. It wants to roll back up so consider this when you put up the fence. I wanted my gates to open outward so I put up the fence so that the natural bend of the wire will make it open outward. After a year the fence still wants to curl so the gates open very easily when unlatched.

Starting at one end, cut the fencing so that the horizontal wires are long enough to wrap around the 1 x 2 inch furring strip. Bend the wire around the wood strip and back over the wire to secure the 1 x 2. You want the wire to be wrapped tightly around the wood so the furring strip does not slip up and down inside the wire.
Pound the stake into the ground and place the eye screws into the holes then secure them with nuts. Then line the end of the fence with the metal post to determine where to screw the gate latch into the wooden furring strip. Progress along the perimeter of your garden. I like to secure my fence to the metal stakes using twist ties. They make it easy to remove the fence for weeding.

This simple fencing method is inexpensive and versatile. Made Andie's Way.