Showing posts with label basil. Show all posts

Wednesday, October 1, 2014

Harvesting Basil

My kitchen is filled with the scent of fresh sweet basil. I'm harvesting my plants, freezing the leaves so we can enjoy the taste of summer during winter's cold season. We dry some of the leaves, but most of them are frozen because we like to use the fresh leaves in pesto, on pizza, in sauces and even in our lemon basil martinis. 

There is not much happening in my garden right now, and my blog has been neglected as a result. The summer garden is fading and it is still too hot in my Los Angeles area garden to begin fall planting. It is the time of year I turn to indoor projects because gardening when the temps are above 105 degrees is just not my idea of a good time. I have been busy redecorating my breakfast room. The painting is done, now I'm sewing pillows and curtains. I'll post some pictures once it is completed. 

In the next couple of weeks I will finish pulling out the summer veggies and prepare the beds for winter crops. The basil and herbs are still going strong, the one bright spot left in my garden. I decided to leave one basil plant to see how long it will continue to produce into the fall/winter. The rest I'm harvesting. This is a time consuming process. Here's the method I use to try to make it as easy as possible.

Cut the large stalks close to the ground.
Holding the stalk, I turn it upside down and shake it to remove some of the debris that collects in the leaves.
Next I cut off the seed stems.
Read tips on harvesting sweet basil seeds here
When you are finished removing the seed pods it looks like this. 
These stalks/leaves are then taken into the kitchen to be washed and dried. Because we are in a drought in California, I try my best to conserve water. I collected the rinse water in a bucket, then used it to water my rosemary bush. 

I find that it is easiest to keep the leaves on the stems when washing them. After cutting the stems off of the larger stalks, they were placed under water and swished around.
Then I rinse the leaves under the spray water. 
Then I turn the stems upside down to wash the under side of the leaves, scrubbing the leaves between my fingers when needed.
The stems/leaves are then dried on towels. At this point the smell is almost overwhelming in my kitchen.
Once the water has evaporated I remove the leaves by stripping them from top to bottom.


I put one cup of leaves into a snack sized ziplock baggie and remove the air. 
The baggies are labeled using a permanent marker, and into the freezer they go. One plant produced 6 cups of leaves. 
One cup we left to dry completely to be used as a dried herb. There are 3 more plants left to harvest and I'm considering processing them in the food processor and freezing them in ice cube trays. 

Do you have any other suggestions for harvesting basil? 


Friday, September 19, 2014

Basil Hummus


What to do with all that basil? The possibilities are endless. Today I made basil hummus and it was delicious so I'll share the recipe in case you are looking for something to make with your bountiful basil. 

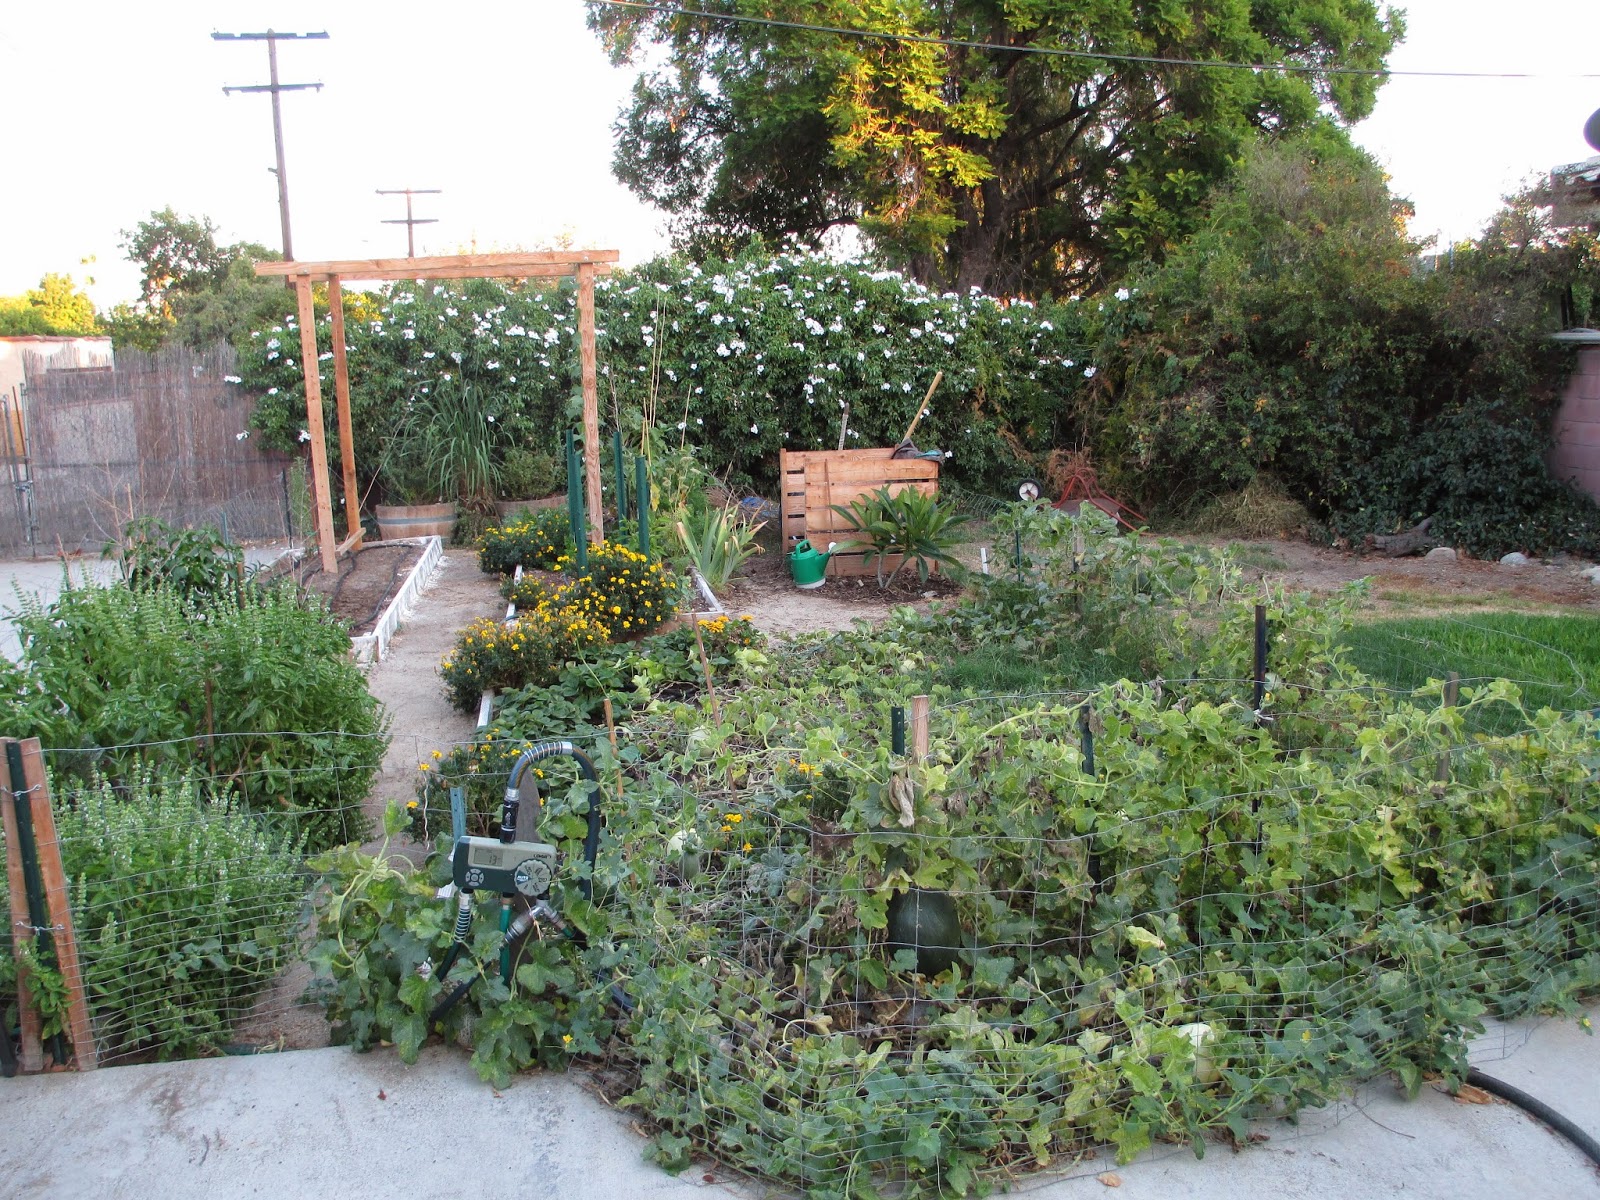
Thank goodness for basil. If not for it and the melons, my garden would look very sad. We're at the point in the summer when the heat has taken its toll and most of the veggies have been harvested. 

Our growing season in Southern California is a long one, as in all year long. We generally plant summer gardens starting in March/April, then in the fall we plant our winter gardens. September and October are typically really hot and dry. My summer garden is tired and so am I. The heat zaps my energy, so gardening this time of year is not appealing. 

I long for the cooler days of fall. I am inspired by seed catalogs and thoughts of fall planting but I can't seem to find the gumption to get out there and work. The list of chores to be done in preparation for the winter garden is long, but it is about a month too early to really get started. I have one bed cleared and the soil amended. There are spaces in the other beds left vacant by harvesting.
The melons are still producing their incredible bounty despite looking a bit fried.
So the bed with herbs is the one pretty spot, thanks to the basil.
I have harvested several plants. The leaves were rinsed, then allowed to dry before they were placed in snack-sized ziplock baggies and frozen. My stash of frozen basil leaves will allow us to enjoy fresh basil hummus this winter. Here's the recipe.

Basil Hummus

3 cloves garlic, minced
2 C fresh basil leaves, packed
1 1/2 C dried garbanzo beans, soaked in water over night, or 2 cans garbanzo beans
1/4 C pine nuts
1/4 C olive oil
1/4 C fresh lemon juice
1 1/2 tsp salt
1 tsp tomato paste
A few dashes of your favorite hot sauce. My favorite is Cholula. 
1/4 C water (or less)

Place the garlic and basil in a food processor and pulse for a few seconds until finely chopped.
Drain and rinse the garbanzo beans and add to the food processor along with the pine nuts, olive oil, lemon juice, salt, tomato paste and hot sauce. Pulse for a few seconds at a time until mixed. Add water a little bit at a time until the desired consistency is reached. 

Serve in a bowl with a little olive oil drizzled on top and garnish with some pine nuts and a sprig of basil. 

Enjoy!

Tuesday, August 5, 2014

Harvesting Sweet Basil Seeds

Sweet basil sings of summer. 
Summer recipes feature tomatoes, bell peppers and basil, all picked fresh from the garden. 

Basil martinis. Pesto. Caprese. These are the tastes of summer.

To satisfy the craving, I planted basil throughout the garden. 
My basil plants are near the edges, spilling onto the paths creating a delicious aroma in the garden as they are brushed by passing legs.

Tomatoes love basil, they grow well planted near each other so I planted basil seeds around the tomatoes. I planted the seeds in succession to prolong my harvest. We have been pinching them as we use the basil for cooking which has resulted in bushy plants full of leaves. The plants have gone to seed so it was time to deadhead the plants to encourage them to continue to produce those yummy leaves. You can read about how to deadhead basil here.

Basil seeds are tiny and black. They are formed on long stems which form small white flowers.
The bees love the basil, they were buzzing around as I took these pictures, doing their good work.

The photo below shows three sweet basil flower stalks in different stages of development. 
On the left is a green stalk with immature seeds not yet ready to harvest. On the right is a dried out stalk which has already released its seeds. The middle stalk is part green and part brown which is the ideal time to harvest the seeds. 

The flower stalks start out fully green. You can see the seeds starting to form here. These seeds are still green and are too immature to harvest.
The stalks start to dry out and turn brown. As they turn brown the seeds mature and turn black as you can see here. These seeds are ready to be harvested.
The seeds are released as the stalk dries out, so if you wait until the stalk is fully brown there will be no seeds to harvest like this in one.
So pick the stalks that are half brown, shake them to release the seeds, use your fingers to gently remove the seeds from the stalks and store them for next season. 

Sunday, August 3, 2014

Deadheading to Prolong The Harvest - Tips for Beginners

Deadheading is the process of removing spent flowers which are producing seeds. This is done to encourage the plant to continue to grow and produce. 

A plant's mission is to grow and multiply; nature's cycle of life. Some plants multiply in other ways (such as sending out runners, like strawberry plants), but most often plants reproduce by making seeds. 

First the plant grows,
then it makes flowers, 
then the flowers fade while parts of the flowers morph into seeds. 
The plant will put considerable energy into producing seeds as it wants to propagate. If you let the plant makes its seeds, it will put less energy into the crop because it feels it has done its job: It has made seeds for the next generation. 

By deadheading the seeds (or flowers), you trick the plant into thinking it needs to continue to grow in order to make seeds. It will continue to grow, so you get more production from the plant if you deadhead.

In my garden, the basil has gone to seed. 
Clearly I did not keep up with deadheading it, but I could not put it off any longer. There are still weeks of summer left in my Los Angeles area garden and I want the basil to continue to produce, so today was the day. I deadheaded the plants and collected some seeds to be planted later. 

Here are the basics of deadheading which can be applied to almost all plants. The idea is to remove the seeds, but the trick is to cut the stem at the right location to encourage the plant to sprout new growth. Looking at this basil you can see the stalk with the white flower buds and seed pods.
The stem needs to be pinched right above the place where the new growth has sprouted.
Now the plant will put its energy into developing those two side branches (leaves).
This is another example of a newly developing stem which will grow and produce flowers/seeds.
It was pinched off just above the new growth.
Grow little leaves, grow!
Here's one basil plant before it was deadheaded. 
Here's one after pruning.
Doesn't it look delicious? Looking at these pictures is making me hungry!!


Tuesday, July 29, 2014

Thai Basil

It's basil with a twist of licorice and clove. Thai basil adds a punch of flavor to asian food, soups, pastas and more. Ocimum basilicum var. thyrsiflora is a member of the mint family and grows as a rounded plant 1 to 1 1/2 ft tall and wide. 
The leaves have a strong basil and anise flavor which is stable at higher temperatures than sweet basil, so unlike sweet basil, it does not lose its flavor when cooked at higher temperatures.  

The leaves of Thai basil are smaller than sweet basil as seen in this photo.
Thai basil leaf (top)
Sweet basil leaf (bottom)
The plant is more compact than sweet basil and is beautiful with dark green foliage set off by deep maroon purple stems and seed pods.
Tiny lavender and white flowers bloom without notice as they are indeed tiny, but a closer look reveals the delicate crown.
The flowers are too small to appreciate with my middle aged eyes, so I was fascinated to see the magnified photos.
Stems grow with crowns of flowers which bloom in succession from base to tip.
The ombre effect on this stem is beautiful.
You can see the small black seeds forming in these pods.
Thai basil prefers full sun and well drained, moist soil. In my Southern California garden, summer temperatures can be scorching so mine is planted where it gets some afternoon shade and it is thriving.
I have read that it can be propagated from cuttings. Mine was purchased in a 4 inch pot. I've collected some seeds and will try them for my first time next spring.

To promote a bushy habit (and therefore, more leaves) pinch it often. This means that you cut the stems right above the place where the leaves come off the stem. This is where buds are forming and once the stem is cut, the leaves will sprout creating 2 side branches. If you keep removing the seed pods, it will continue to produce leaves. As you can see from the photos I have not been good about dead heading my plant, it just gets pinched when I need some leaves for cooking.

Thai basil is most often used fresh in recipes as opposed to dried. It can be frozen as well. It can be cut back to 6 inches tall if you chose to harvest the leaves all at one time. 

Living in this climate I am fortunate to have herbs live through the winter so hopefully I will be able to enjoy my fresh Thai basil throughout the year.